Snes9X Tutorial
- About Snes9X
- Should you use Snes9X?
- 64-bit and 32-bit versions
- Installation
- Q: Application was unable to start correctly?
- Q: Unable to initialize XAudio2?
- Q: ddx9_38.dll is missing?
- Setting up the keyboard or gamepad
- Loading a game
- Q: Failed to initialize display output!
- Full screen
- Output image processing
- Save states
- Fast forward
- Using Game Genie & Pro Action Replay
- Capturing screen shots
- Recording AVI movies
- Finding ROMs
- Patching ROM hacks
- Q: I get a 'checksum fail' error!
- Q: My game freezes at a specific spot!
- Q: Can I transfer my saves to another emulator?
- Q: Snes9X isn't saving anything!
View this guide on Google Docs to:
- Save as PDF or any common doc format
Share
About Snes9X
This tutorial is to help you with Snes9X for Windows. Snes9X is one of the best SNES emulators out there. It offers high game compatibility, runs well even on low-end PCs, and offers tons of great features. It's easy to use, too. Sometime around 2010, Snes9X was split off into two versions: Snes9X-64 and Snes9X-32. Snes9X-64 is optimized for 64-bit Windows and Snes9X-32 is optimized for 32-bit Windows.
*If you would like to download Snes9X, I have it on my emulators page.
Should you use Snes9X?
With all the emulator offerings as of 2026, should you use Snes9X? Well, it depends. There are several options for Super Nintendo emulation. If your computer can handle a CPU heavy emulator, BSNES is the #1 SNES emulator for its cycle-accurate emulation. RetroArch is a popular multi-system emulator that supports multiple cores (emulators) for SNES emulation.
Snes9X is still a good option if you want a standalone emulator that 'just works out of the box'. It's simple and very easy to use. Unless you're an emulation purist, you won't notice the difference between the emulation quality of Snes9X and a cycle-accurate emulator.
64-bit and 32-bit versions
When you go to download Snes9X, the first thing you're going to see is two versions: 64-bit and 32-bit. So what is that and which version do you download? I won't drown you with technical jargon. In short: these are types of Windows systems. 64-bit is newer and faster, and 32-bit is older and slower. If you have 64-bit Windows, you need to download the 64-bit version of Snes9X. And vice versa with 32-bit.
They stopped making 32-bit computers around 2017, so chances are you're most likely using a 64-bit computer. If you're not sure if you have 64-bit or 32-bit Windows, here's how you can check:
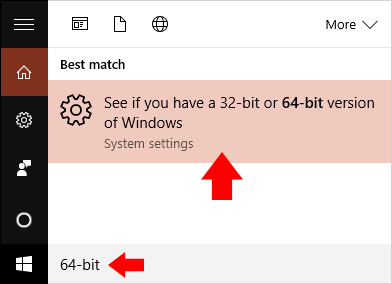
- On the bottom left where you see Search the web and Windows, do a search for “64-bit”.
- You'll see this come up: “See if you have a 32-bit or 64-bit version of Windows”. Click it.
- You'll arrive here . Look for “System type”. If it says “64-bit operating system” then you're using 64-bit Windows. If it says “32-bit operating system” then you're using 32-bit Windows.
Using Windows XP? Here are directions for that .
Installation
Snes9X is a standalone program, so it does not have an install wizard. Installation is simple: just extract Snes9X from its zip file. To make things clearer, check out the video below that shows how to 'install' a portable emulator. It's pretty straight-forward - all that you're doing is extracting a zip file while doing a little bit of folder management. If you want to 'uninstall' a portable emulator, simply delete it!
In the video, I'm recommending “Documents” to house your emulators. But, you could also place emulators in “Downloads”, a folder on your desktop, an external HDD, or a thumb drive. These are common locations with full read/write access.
To open Snes9X, double-click on ![]()
Q: Application was unable to start correctly?
Upon opening Snes9X, you might get this error:
The application was unable to start correctly (0x000007b). Click OK to close the application.
This error happens on some machines when using Snes9X-64 on 64-bit Windows 7. The resolution is simple: just use Snes9X-32 instead. I know, it's a confusing contradiction. Snes9X-64 was specifically optimized for 64-bit Windows. Yet to resolve this error you need Snes9X-32 that was optimized for 32-bit Windows.
Q: Unable to initialize XAudio2?
Upon opening Snes9X, you might get this error :
Unable to initialize XAudio2. You will not be able to hear any sound effects or music while playing.
It is usually caused by not having a recent DirectX release installed.
You need to install the full DirectX package (don't forget to restart your computer after installation).
Q: ddx9_38.dll is missing?
Upon opening Snes9X, you might get this error:
The program can't start because ddx9_38.dll is missing from your computer. Try reinstalling the program to fix the problem.
You need to install the full DirectX package (don't forget to restart your computer after installation).
Setting up the keyboard or gamepad
Click on Input > Joypad Configuration, or press Alt+F7. You'll end up here:
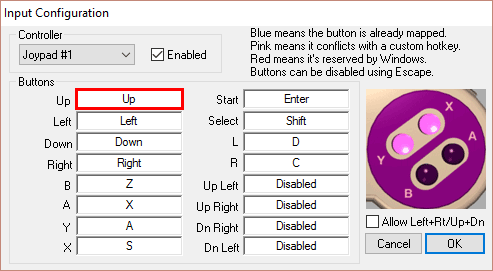
This box tells you the buttons that correspond to each SNES button. To reassign a button to another keyboard key or a gamepad button, just click on the field you want to change. Then press that keyboard key or gamepad button.
Auto-configuration
By default, Snes9X will jump to the next button after the one you just reassigned. Let's say you just plugged in a new gamepad and you want to avoid having to manually click on each of the 12 buttons. Snes9X can do it automatically! Start by reassigning the first button: Up. After you reassign Up, Snes9X will jump to Left, then Down, then Right, then Z, and so on. Click OK when you're done.
Loading a game
When you open Snes9X for the first time, within its folder it will create a folder called “Roms”. I recommend tossing your games in this folder, but you don't have to.
To load a game:
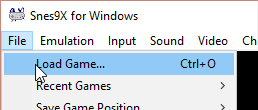
- Click on File > Load Game; or press Ctrl+O.
- The “Open” window will pop up with the “Roms” folder in view. From this window click on the game you want to play, then click Open - as shown here .
- The game will begin playing immediately.
Q: Failed to initialize display output!
Upon loading a game with Snes9X, you might receive the following error:
Failed to initialize currently selected display output! Try switching to a different output method in the display setting.
First, check these points:
- Make sure you have the latest version of Snes9X. Simply using the latest version could resolve this issue.
- Make sure DirectX is installed (don't forget to restart your computer after installation).
- Make sure the game you're trying to load is actually a SNES ROM. SNES ROMs are in “smc” or “fig” format. If your ROM is in a zip file, open it and make sure it's smc or fig.
If you're good on the above, this issue is probably happening because your computer is lacking support for OpenGL. So your computer might be old or have a cheap, generic video card. In most cases, changing the output method to DirectDraw resolves this. Here's how to do that:
- In Snes9X, access the display configuration by going to Video > Display Configuration.
- In Display Configuration, click on the drop-down for “Output Method” and select DirectDraw, as shown below:
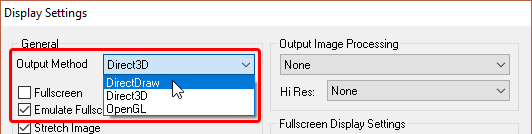
- Click OK and try loading a game.
If you continue to receive the “Failed to initialize currently selected display output” error then you're out of luck. There's no way to fix this. This is an issue with your computer, not Snes9X. You can't use video game emulators without the ability to use OpenGL or DirectDraw.
Full screen
Press Alt+Enter to enter full screen. Press Alt+Enter again to go back to window mode. During forget, pressing Esc disables/enables the top menu bar.
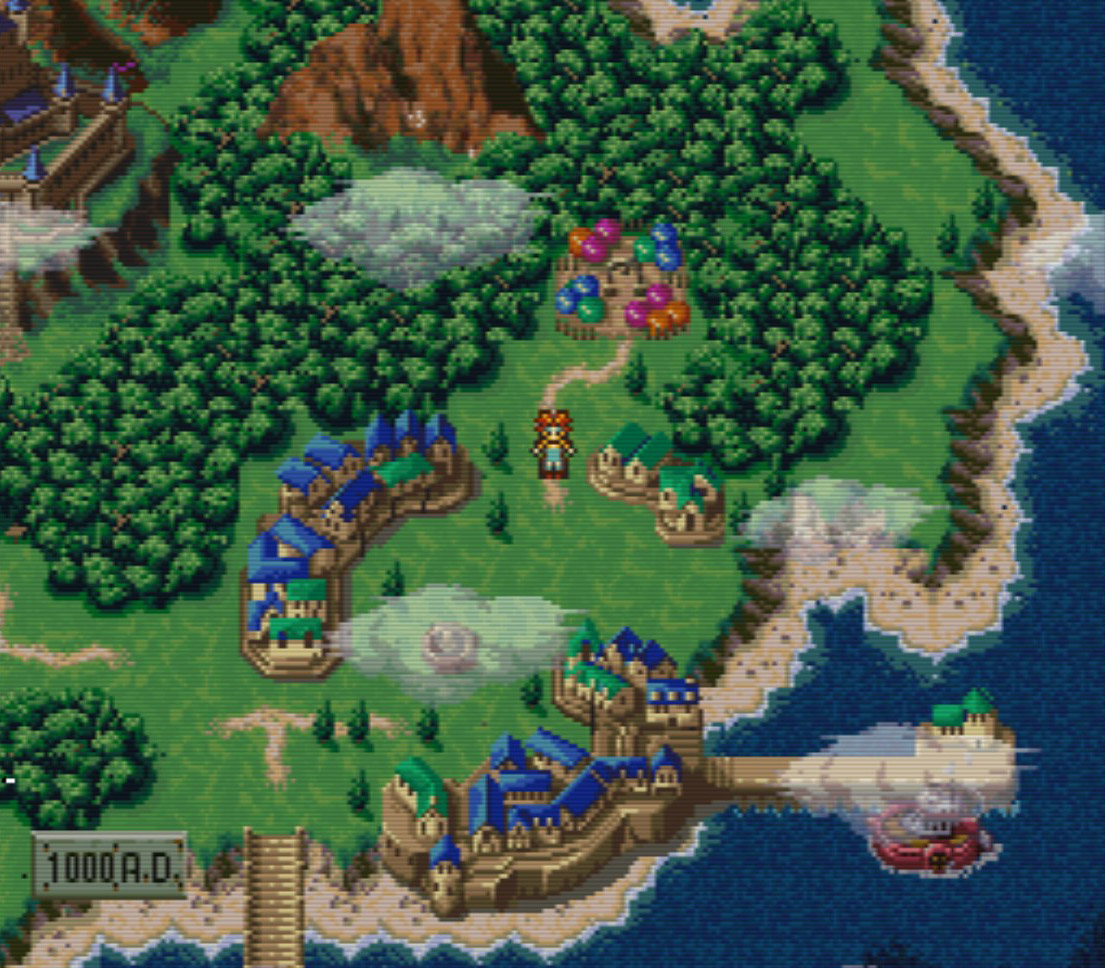
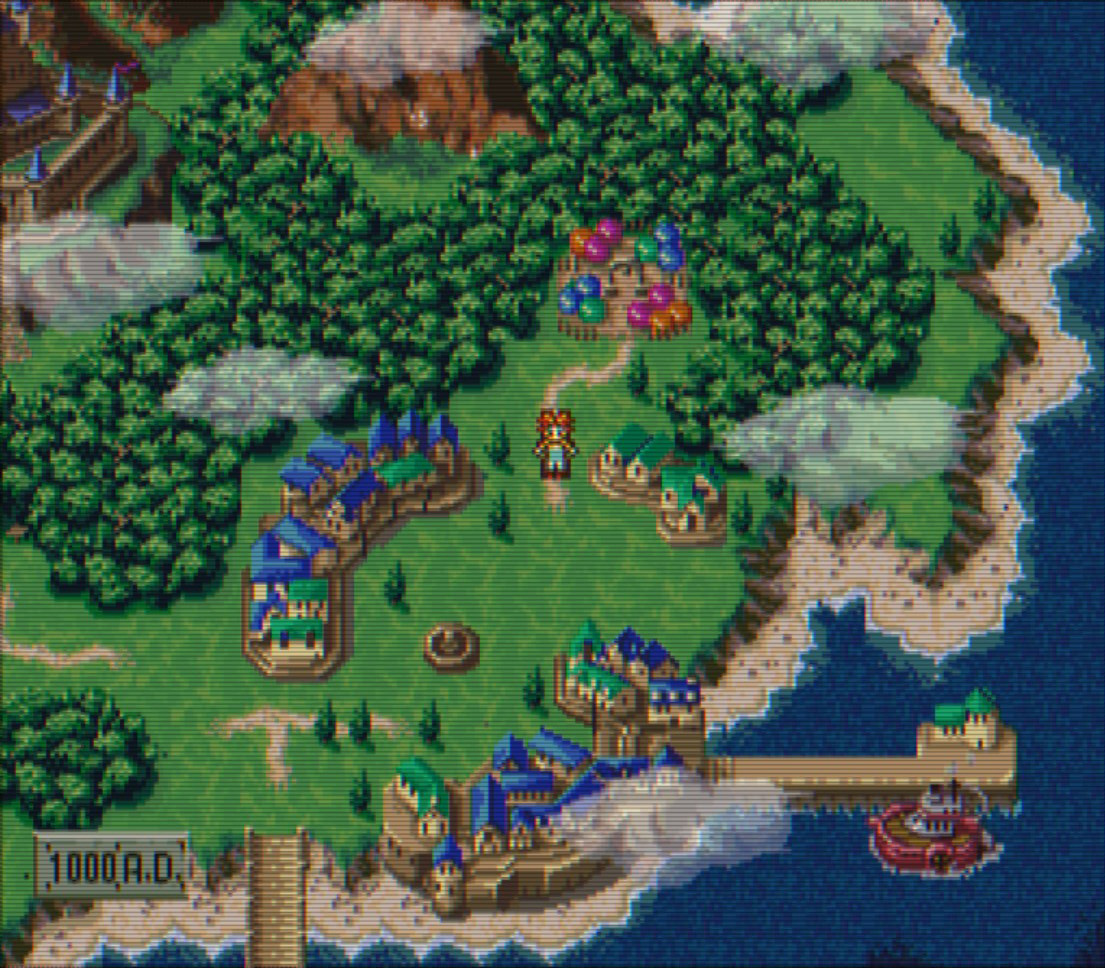
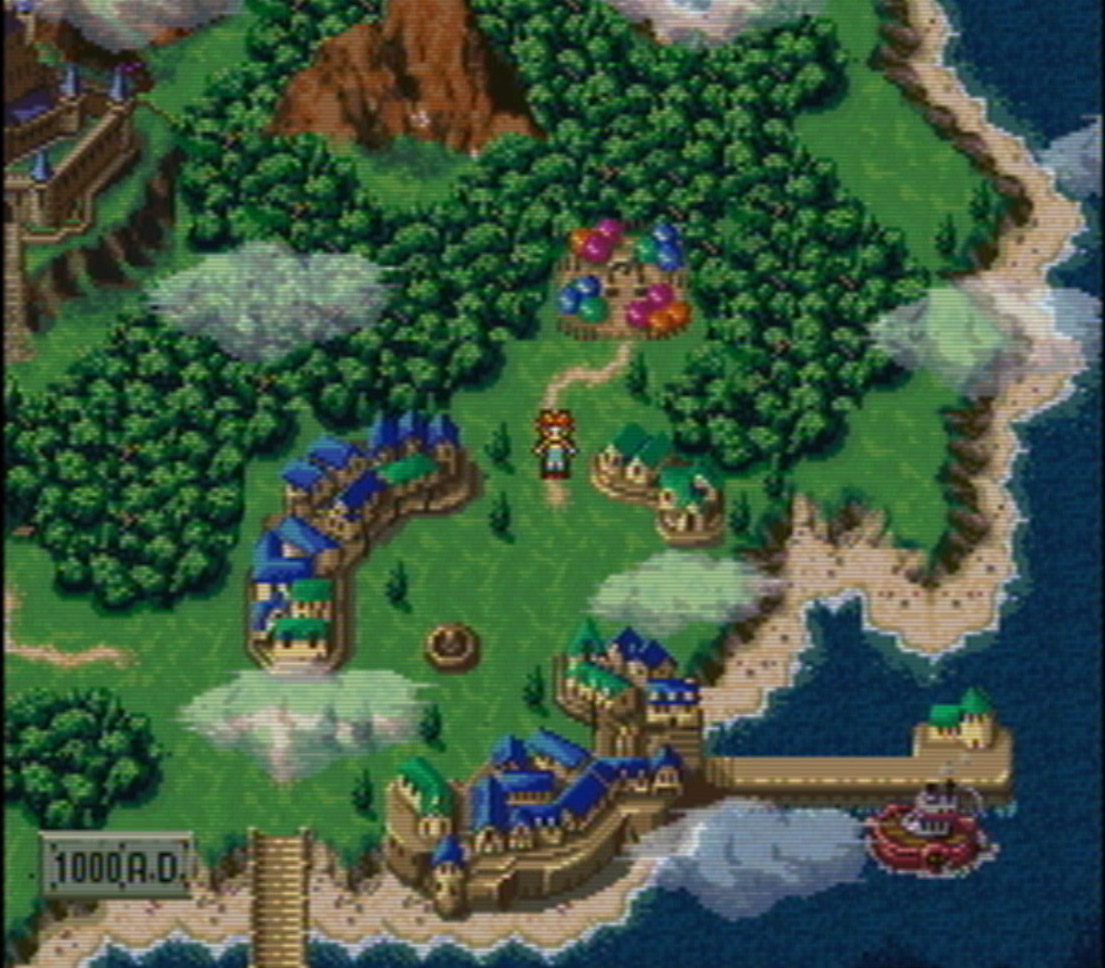
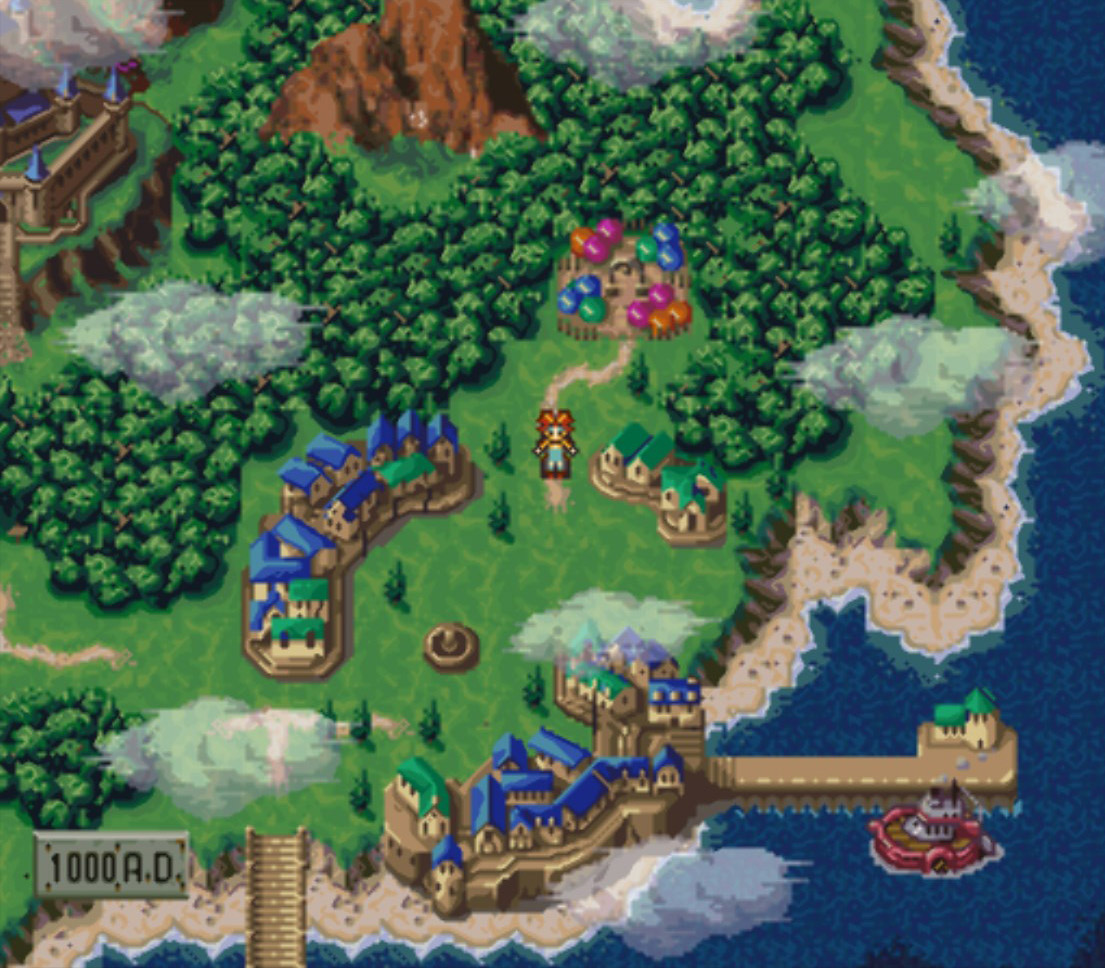
Output image processing
Output image processing enhances graphics to make them look better than the real thing! This feature is also known as screen renders or screen filters. You can access this feature by clicking on Video > Display Configuration. Look for the box titled “Output Image Processing”, as shown here:
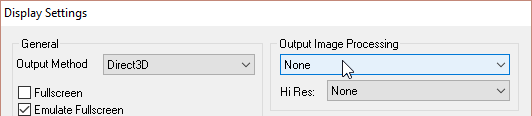
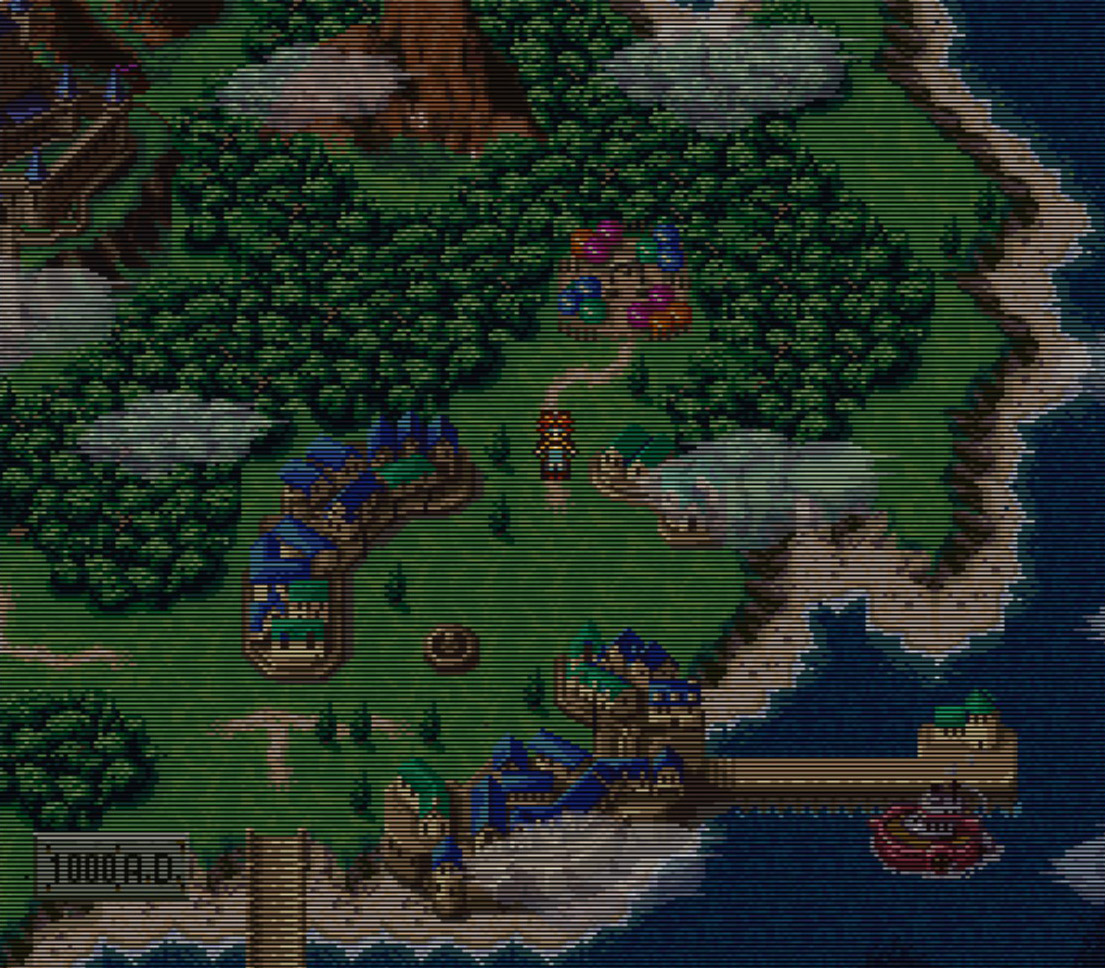
Click on the drop-down (where you see None) and choose a filter you want to try; here's an expanded sample . Snes9X doesn't have an immediate preview, so to see how it looks you need to click OK to close this window. Repeat the process to select a different filter.
About Hi-Res: In the same box you'll see a “Hi Res” option. Thanks to the wonders of emulation, a handful of SNES games can render its font higher than 16-bit! Games such as Seiken Densetsu 3, Romancing SaGa 3, and Treasure of the Rudras. Enabling Hi-Res applies a filter for these special fonts to make them look nice and sharp. Otherwise, these fonts look pixel-ish.
The filters
Here is some explanation and samples for these filters:
- Forced 1X: the default; no filters applied.
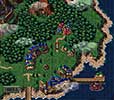
- Scanlines: adds dark horizontal lines to simulate a TV. Sample:
- TV Mode: attempts to simulate a TV more so than scanlines. Samples:
- Blargg's NTSC (Composite), Blargg's NTSC (S-Video), Blargg's NTSC (RGB): an impressive filter that realistically simulates a TV! Sample:
- SuperEagle, Super2XSaI, 2xSal: smears pixels together with a slight blur. Samples:
- Dot Matrix: simulates a dot matrix monitor. Sample:
- hq2x, hq3x, hq4x: a smart filter, which attempts to sharpen and blur when necessary. Sample:
- EPX A, EPX B, EPX C: attempts to round together pixels without any blurring. Sample:
- Simple 2X, Simple 3X, Simple 4X: just enlarges the screen with no filters.


Save states
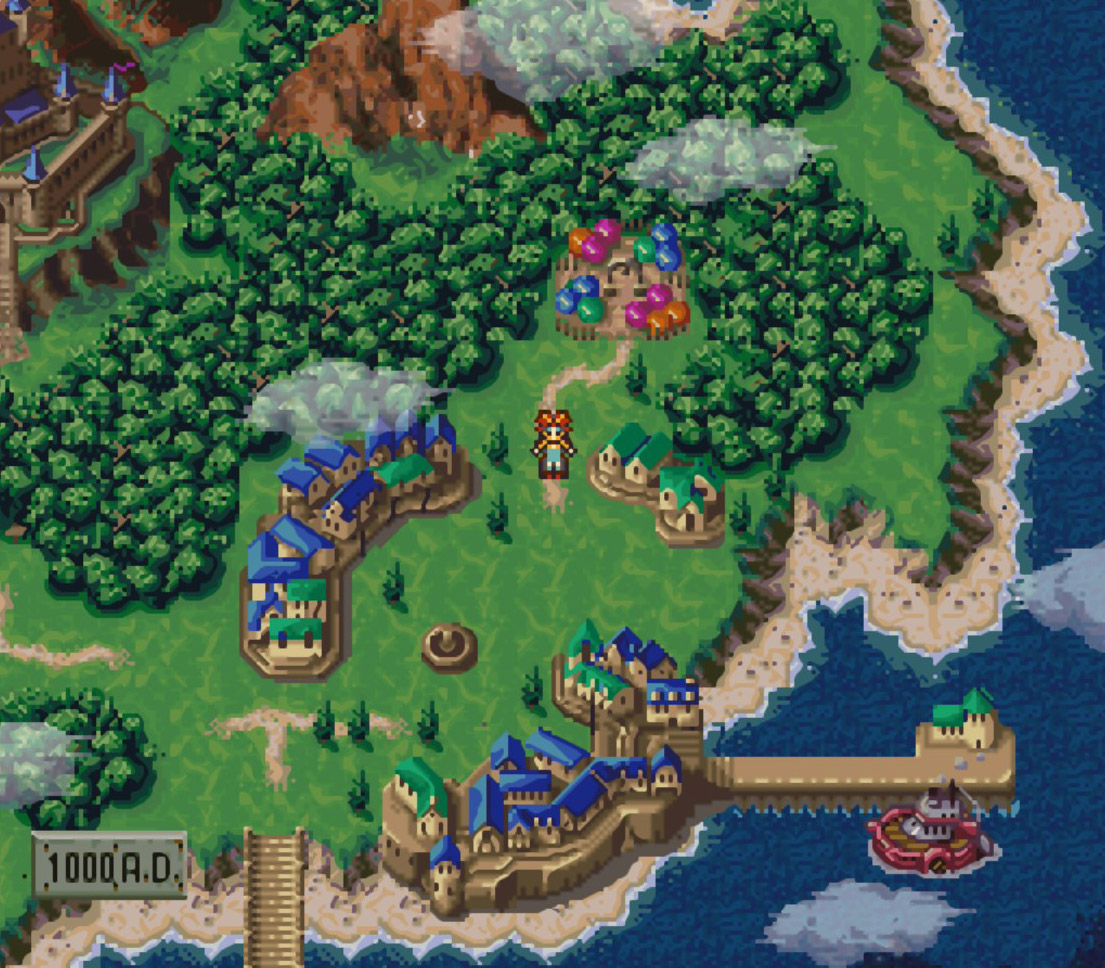
Save states is a feature that saves the exact spot you are in any game. You can use this feature manually by going into the File menu or by quick keyboard shortcuts.
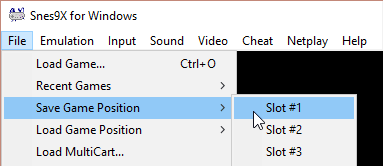
- Capturing a state: To capture a save state go to File > Save Game Position and choose any of the 9 slots. These slots are reserved to allow you to save up to 9 different save states. The keyboard shortcut for saving states is Shift+F1 to save in Slot 1.
- Loading a state: To load a state you previously saved, go to File > Load Game Position. Then choose the slot where your save resides. The keyboard shortcut for loading saves is F1 to load from Slot 1.
Note: Save states are different from internal saves
If you're new to emulation, I might be leading you to think that save states are what you're supposed to be using with Snes9X to save your progress. All video game emulators (not just Snes9X) offer two ways to save your progress: internal saving and save states. Internal saving is when you arrive at a save point within the game, to save your progress as if you're using a real SNES. You can use either internal saving or save states to save your progress. I recommend using both methods so that you always have a backup.
If you opted to use internal saving, remember that you load that save from within the game when you arrive at the title screen (like on a real SNES). You don't load an internal save from the File menu. Only save states can be saved & loaded from the File menu.
Also note: All the RPG shrines in my FantasyAnime.com offer complete collections of periodical game saves. With them, you can continue at any significant point in the game. I offer a Game Saves Tutorial where you can learn more about how to use somebody else's saves. You can also learn about how to transfer saves between other emulators.
Fast forward
Fast forward is the feature that speeds up the game. To access it, press the Tab key. Hold it down and let go until you want the fast forwarding to end.
Using Game Genie & Pro Action Replay
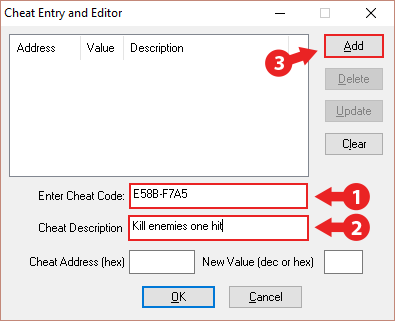
- First load the game. Click on Cheat > Game Genie, Pro-Action Replay Codes.
- (1) In the “Enter Cheat Code” field type the code. You could also Ctrl+V to paste it from a site. There cannot be any spaces in the code!
- (2) In the “Cheat Description” field type a short description for the code.
- (3) Click on the Add button to add the code. You'll see a box next to it - put a check in that box to activate the code, as shown here .
- Repeat the process to enter more codes. Know that Snes9X does support cheats with multiple lines. You need to enter such codes one line at a time, and in order. Click OK when you're done.
- Reset or reload the game. If the cheat doesn't work then you either typed it wrong or it's a bad code.
Finding cheats: Use Google. The best search keywords to use is to type the name of the game then “game genie”. For example: “super mario world game genie”.
Capturing screen shots
While a game is open, just press F12 to capture a screen shot. That's it! You could also do it via the menu by going to File > Save Other > Save Screenshot. Snes9X will place the screen shot as a PNG image in a sub folder called “Screenshots”.
Capturing sprites: Capturing sprites is easier if you disable background layers before capturing a screen shot. Super Nintendo graphics are made up of 5 layers: four graphics layers and the sprites layer. You can turn any of these layers on and off. Keyboard buttons 1-4 turn the graphics layers on/off. Keyboard button 5 turns the sprites layer on/off.
*In need of a graphics editor to edit screen shots? Here are The Best Free Photo Editors.
Recording AVI movies
Want to upload your own SNES gameplay videos to YouTube? Well Snes9X will let you capture them! Here's how you do it:
- Play a game up to the point you want to start recording. If you're in full screen mode, press the Esc key to enable the top menu.
- Go to File > Record AVI.
- Snes9X will prompt you with the Save As window . Where I have the red outline, enter the name you would like for your movie clip, then click Save.
- Snes9X will prompt you with the Video Compression window . Leave it as “Full Frames (Uncompressed)” and click OK.
- The recording begins. Snes9X will most likely have sound disabled and be running sluggish. Don't worry! That doesn't mean your movie clip will come out the same way. When you're ready to stop the recording, go to File > Stop AVI Recording.
- That's it! :) Jump into Snes9X's folder and enter the “Movies” folder. Your movie clip is there.
Converting AVI movies
YouTube won't have a problem playing your video after you upload it. But, yet if you want to edit your AVI recording in a video editor, it might be rejected and not work. In that case, just convert your AVI recording to a more compatible format such as MP4. A great, free video converter is Miro Video Converter. With Miro, all you need to do is drag the AVI over to it, select Format > Video > MP4, and click Convert.
Finding ROMs
In my links page, I have some good links to sites where you can download ROMs. If you want to try to find more sites than what's in my collection of links, just Google around. For example, if you want to download Super Mario World just Google “download super mario world snes”.
Patching ROM hacks
Learn all about patching ROMs with ROM hacks in my Patching Tutorial. Note that the best place to find ROM hacks is Romhacking.net.
Q: I get a 'checksum fail' error!

This comes up when you play a ROM hack or fan translation. It's normal; everything's fine. It comes up because the size of the ROM increased due to the ROM hacking. It's a misleading error message because that's not a big deal. If you're having problems with your game right now - the bad checksum error has nothing to do with it.
Q: My game freezes at a specific spot!
If your game keeps freezing at a specific point, then you are a victim of the infamous game freeze. It's rare! I hate to be the bearer of bad news, but there's nothing you can do to fix this problem. Restarting the game from the beginning won't help either. Why does this happen? Well, you can't expect every game to work 100% perfectly with every version of every SNES emulator.
There's hope if the game you're playing is an RPG. If you've been using in-game saving you could copy over the SRM file to another SNES emulator to continue where you left off.
Q: Can I transfer my saves to another emulator?
Snes9X lets you save your game in two ways:
- State States: Snes9X's save states are exclusive to Snes9X so they cannot be transferred to other SNES emulators.
- Saved RAM: This is the internal save in RPGs. They have an SRM file extension. View this for a clearer picture . SRM files are what can be transferred to other SNES emulators. You can literally just copy & paste the ROM and the SRM file over to the other SNES emulator and it'll pick it up. Although some SNES emulators want to be organized. They require you to dump the SRM file in a designated saves folder. I have a Game Saves Tutorial where you can learn more about transferring saves. You could also learn about using somebody else's saves.
Q: Snes9X isn't saving anything!
If you're using Snes9X for the first time and you're finding that you have all these problems:
- Save states aren't working. You save a state, then when you try to reload it nothing happens.
- In an RPG when you save your game at a save point and close/re-open Snes9X, you find that the save is lost.
- Emulator configurations that you changed such as adding a screen filter aren't saved. When you close/re-open Snes9X, you have to make those configuration changes again.
Then your problem is that you currently have Snes9X in a read-only location on your computer. You must move Snes9X to a more common location such as Documents, Downloads, or a folder on your desktop.