Nestopia Tutorial
⚠️ This tutorial is archived and no longer included in the main navigation. This emulator is too old and I do not recommend it for modern devices.
- About Nestopia
- Should you use Nestopia?
- Installation
- Setting up the keyboard or gamepad
- Loading a game
- Full screen
- Screen filters
- Save states
- Fast forward
- Using Game Genie & Pro Action Replay
- Capturing screen shots
- No sprite limit
- Finding ROMs
- Patching ROM hacks
- Q: Can I transfer my saves to another emulator?
- Q: Nestopia isn't saving anything!
View this guide on Google Docs to:
- Save as PDF or any common doc format
Share
About Nestopia
This tutorial is to help you with Nestopia for Windows. Nestopia is an excellent Nintendo emulator. It's been around a long time and is generally considered the best. FCEUX (FCE Ultra) comes pretty close to Nestopia in terms of quality. Versus FCEUX, Nestopia offers more screen filters and is easier to use. It runs well on a wide range of machines of varying speed and specs. It hasn't been updated since 2016, but it's still a great emulator that gets the job done.
*If you would like to download Nestopia, you can download it here (1.21 MB).
Should you use Nestopia?
With all the emulator offerings as of 2026, should you use FCEUX? No, it's not recommended. Nestopia was last updated in 2017. Currently, Mesen and FCEUX are the best emulators for NES emulation.
If you prefer an all-in-one package, the multi-system emulator, RetroArch, is a great option. It supports over 40 video game systems. It even includes a core (an emulator) for FCEUmm, allowing you to enjoy the best of NES emulation within RetroArch.
Installation
Nestopia is a standalone program, so it does not have an install wizard. Installation is simple: just extract Nestopia from its zip file. To make things clearer, check out the video below that shows how to 'install' a portable emulator (it shows Snes9x, but Nestopia is the same process). It's pretty straight-forward - all that you're doing is extracting a zip file while doing a little bit of folder management. If you want to 'uninstall' a portable emulator, simply delete it!
In the video, I'm recommending “Documents” to house your emulators. But, you could also place emulators in “Downloads”, a folder on your desktop, an external HDD, or a thumb drive. These are common locations with full read/write access.
To open Nestopia, double-click on ![]()
Setting up the keyboard or gamepad
- Go to Options > Input:
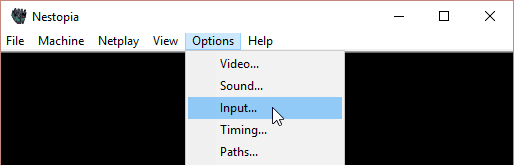
- You'll arrive here:

First, notice the red circle on “Pad 1”. This is player 1. Second, notice the series of red arrows in the “Key” and “Mapping” panels. Those are the corresponding keyboard keys for each button on the virtual NES controller. - You can reconfigure any of these buttons by double-clicking on one in the “Mapping” panel, then press the new keyboard key or gamepad button. Or you can click on Set All to have Nestopia run you through a quick wizard to reconfigure each button.
- Click OK when you're done.
Loading a game
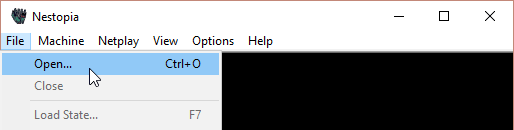
- Go to File > Open, or press Ctrl+O:
- Navigate your computer to the folder where your NES ROMs reside. Click on the game you want to play, then click Open - as shown here .
- That's it! Your game will begin playing immediately.
Full screen
Press Alt+Enter to enter full screen. Press Alt+Enter again to go back to window mode. Take note that it takes a few moments to enter/exit full screen mode, so don't panic if Nestopia takes a while.
Screen filters
Special scalers enhance graphics to make them look better than the real thing! This feature is also known as screen renders or screen filters. Here's how to enable them:
- Go to Config > Video:
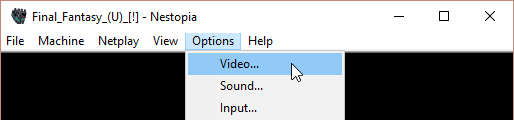
- You'll arrive here:
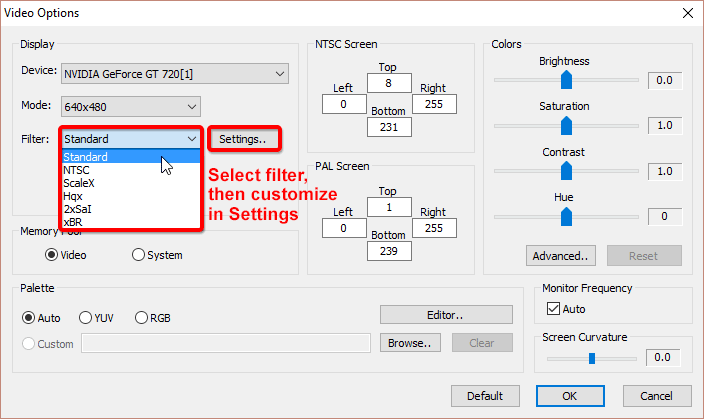
As I outlined in red, that's where you select the filters. You have several to choose from. I have screen shot samples for these down below. Go ahead and select a filter. - We're not done yet. Each filter can be customized! Click the Settings button to see how you can customize the filter you chose.
- Click OK and OK again when you're done.
The filters
Here is some explanation and samples for the filters:
- Scanlines: With “Standard” selected, if you click Settings you can add scanlines to the screen to simulate a TV. It has a slider that allows you to customize the opacity of the scanlines. Below is how scanlines look like at 50%, and the second picture is 30% with Bilinear Interpolation checked:
- NTSC: simulates the fuzziness of an old TV. Below is a sample of NTSC, and the second picture has 30% scanlines & Bilinear Interpolation checked:

- ScaleX: attempts to round pixels together without blurring (unless you select Bilinear Interpolation which blurs). Below is a sample of ScaleX with 3x setting, and the second picture has Bilinear Interpolation checked:
- Hqx: similar to ScaleX, Hqx attempts to round pixels together without blurring. The difference is that Hqx does a better job, I think. Below is a sample of Hqx at 2x with Bilinear Interpolation, and the second picture is 4x with no extra settings:
- 2xSaI: attempts to round pixels together with some blurring. Below is a sample of 2xSaI, and the second picture has Bilinear Interpolation checked:
- xBR: this is Nestopia's most advanced filter. It heavily rounds pixels together. If the game you're playing has cartoony graphics, xBR can make it look gorgeous! See for yourself:
In the Settings, you can increase or decrease the intensity of the pixel-rounding.


Save states
Save states is a feature that saves the exact spot you are in any game. You can use this feature manually by going into the File menu or by quick keyboard shortcuts.
There's one detail about save states with Nestopia that can be confusing. There are two types of them. You have quick saves and regular save states.
Quick saves
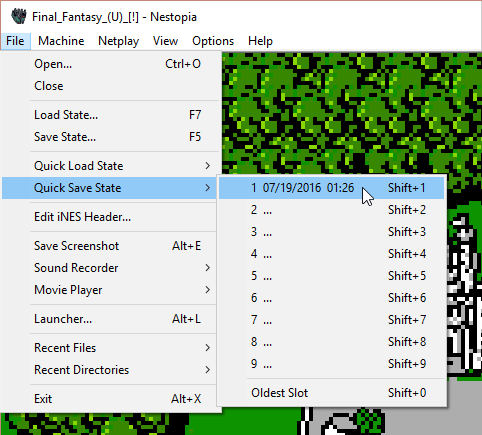
- Capturing a quick save: To capture a quick save go to File > Quick Save State. Nestopia lets you save up to 9 different save states. Pick a slot. The keyboard shortcut for saving a quick save in slot 1 is Shift+1.
- Loading a quick save: To load a quick save that you previously saved, go to File > Quick Load State. Then select the slot you want to load. The keyboard shortcut for loading a quick save in slot 1 is number 1.
Regular save states
The less convenient regular save state feature has a few purposes.
- By going to File > Save State you can enter a custom filename for your save. For example, if you're playing Super Mario Bros 3 you can capture a save state at the beginning of each level and call each save “Level 1-1”, “Level 1-2”, etc. The keyboard shortcut for saving a state is F5.
- To load a save state, go to File > Load State and select your save file on your computer. Through here you can also load save states from another version of Nestopia on another computer. They keyboard shortcut for loading a state is F7.
*All the RPG shrines in my FantasyAnime.com offer complete collections of periodical game saves. With them, you can continue at any significant point in the game. I offer a Game Saves Tutorial where you can learn more about how to use somebody else's saves. You can also learn about how to transfer saves between other emulators.
Fast forward
Fast forward is the feature that speeds up the game. To access it, hold down the Tab key. Let it go when you want it to stop.
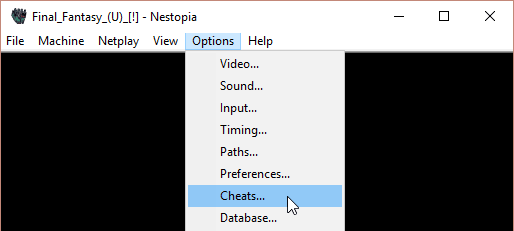
Using Game Genie & Pro Action Replay
- First, load the game. Click on Debug > Game Genie Decoder/Encoder:
- You'll arrive at the Cheats window. From here click Add:
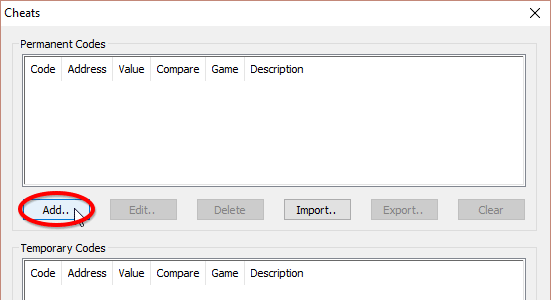
- You'll arrive at the Add Code window. Click Game Genie to add a Game Genie code, or Pro Action to add a Pro Action code. Paste the code in the field, then click Submit. Reference the below shot:
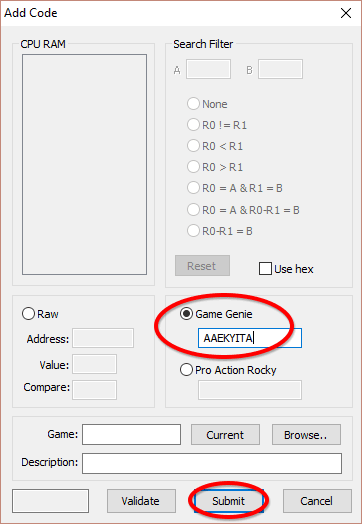
- Your code is now added to the cheats list. You may need to restart the game for the cheat to take effect. That's it! Also, it is possible to add cheats with multiple lines. You need to repeat these directions to add each line one at a time.
Finding cheats: Use Google. The best search keywords to use is to type the name of the game then “game genie”. For example: “mario bros 3 game genie”.
Capturing screen shots
While a game is open, just press Alt+E to capture a screen shot. That's it! You could also do it via the menu by going to File > Save Screenshot. Nestopia will place the screen shot as a PNG image in a sub folder called “screenshots”.
No sprite limit
Every NES fan knows that when the screen gets busy with sprites, the graphics get glitchy and pieces of the sprites disappear. Nestopia has an option that can correct this! Here's a before and after of this feature:
Neat, huh? Want to enable it?
Just go to Machine > Options > No Sprite Limit, as shown above. Or press Shift+U.
Finding ROMs
In my links page, I have some good links to sites where you can download ROMs. If you want to try to find more sites than what's in my collection of links, just Google around. For example, if you want to download Super Mario Bros just Google “download super mario bros nes”.
Patching ROM hacks
Learn all about patching ROMs with ROM hacks in my Patching Tutorial. Note that the best place to find ROM hacks is Romhacking.net.
Q: Can I transfer my saves to another emulator?
Nestopia lets you save your game in two ways:
- State States: Nestopia's save states are exclusive to Nestopia so they cannot be transferred to other NES emulators.
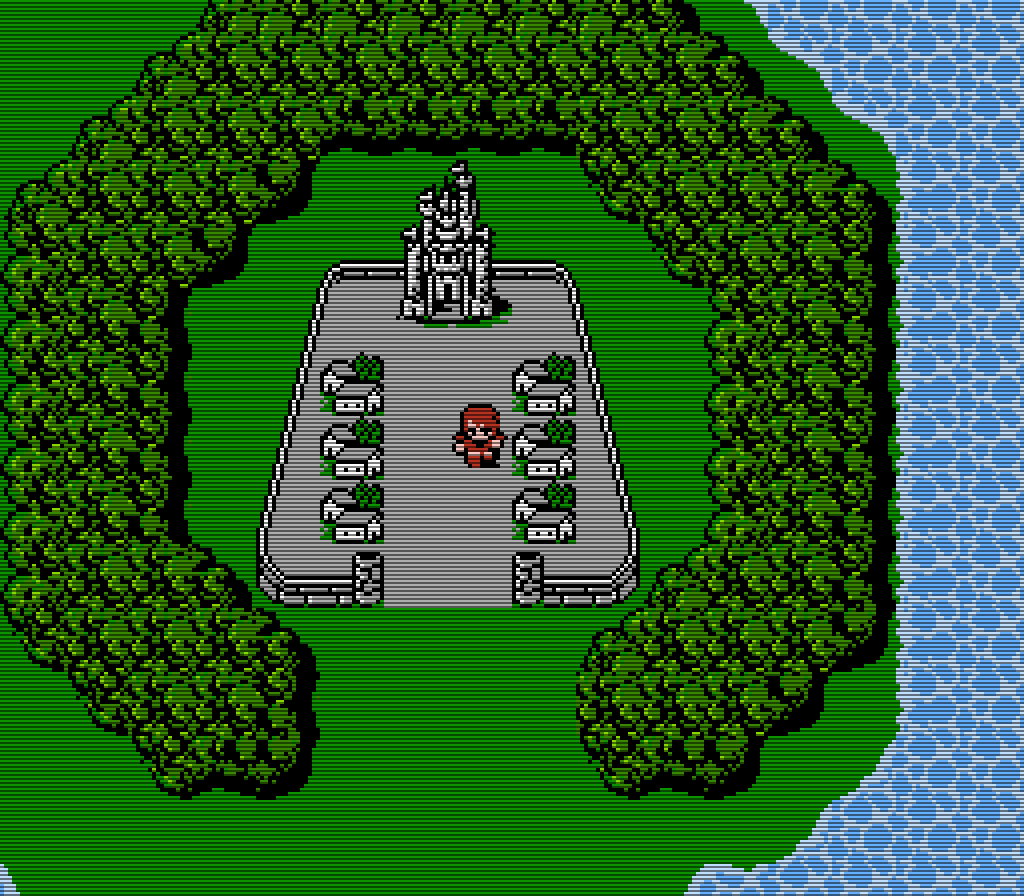
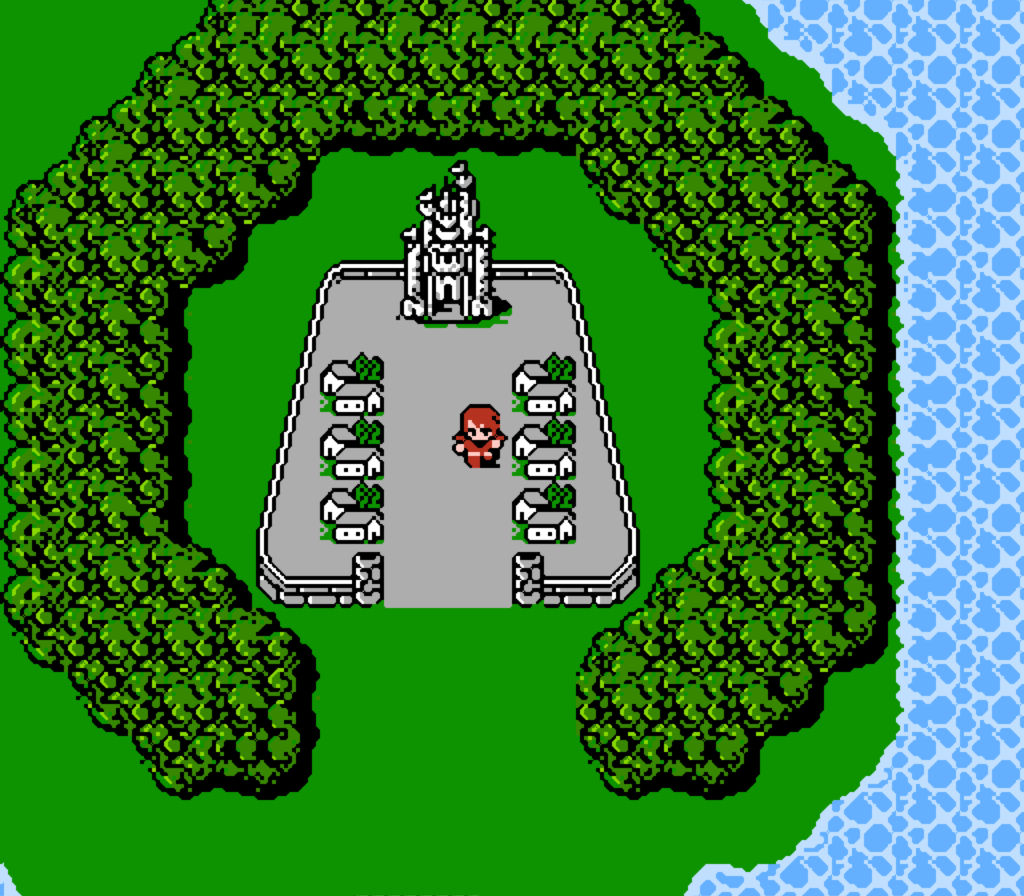
- Saved RAM: This is the internal save in RPGs. They have an SAV file extension. View this for a clearer picture . SAV files are what can be transferred to other NES emulators. You can literally just copy & paste the ROM and the SAV file over to the other NES emulator and it'll pick it up. Although some NES emulators want to be organized. They require you to dump the SAV file in a designated saves folder. I have a Game Saves Tutorial where you can learn more about transferring saves. You could also learn about using somebody else's saves.
Q: Nestopia isn't saving anything!
If you're using Nestopia for the first time and you're finding that you have all these problems:
- Save states aren't working. You save a state, then when you try to reload it nothing happens.
- In an RPG when you save your game at a save point and close/re-open Nestopia, you find that the save is lost.
- Emulator configurations that you changed such as adding a screen filter aren't saved. When you close/re-open Nestopia, you have to make those configuration changes again.
Then your problem is that you currently have Nestopia in a read-only location on your computer. You must move Nestopia to a more common location such as Documents, Downloads, or a folder on your desktop.