Walkthrough
Contents
- Chapter 1
- Battle 1: Temple Ruins
- Battle 2: Village Invasion
- Battle 3: Seeking Rubuarn
- Battle 4: Battle with the Kraken
- Battle 5: Rubuarn's Secret Hideout
- Battle 6: Volcanon's Mountain
- Chapter 2
- Battle 7: Cave to Palacon
- Battle 8: Palacon
- Battle 9: Hunted by Magus' Army
- Battle 10: Battle at Moun Village
- Battle 11: Battle with Magus
 Contents
Introduction
The introduction scenes will come up if you start up the game and don't press Start for a while.
The scenes start with Max and his new party tracking down Mishaela and her henchmen, Lynx, Magus, and Eiku. Lynx is the one with long blonde hair and a crown, the noble villain. Magus is the one with a purple face and one eye, the evil and cowardly villain. Eiku is the one with the blue face and long nose, the typical evil villain without much personality.
If you've played Shining Force I on the Sega Genesis, you'll recognize Max (brown hair and green headband), the hero from Shining Force I, and Adam, the robot you acquire late in the same game. Max's new party consists of Mead, the centaur, Paige, the axe warrior, Sonette, the archer, and Ridion, also a Warrior, he is the older looking one.
Max pursues Mishaela as she and her henchmen escape, Adam is injured by Eiku's Blaze spell in the process. Max orders Mead, Sonette, and Paige to stay and help Adam, while him and Ridion will continue to pursue Mishaela.
The scene ends as Max and Ridion chase Mishaela and her henchmen away.
Chapter 1
The chapter starts with the Elder checking on Adam, as Adam reveals that he will not be able to fight anymore as his injuries are too serious, but he believes the others are still very capable, so they should find Max as soon as possible. Thus, the Elder advises Adam to organize a team for pursuit.
A new character, Hawel, is introduced. He is the Mage with glasses. Cynthia, a blue haired cleric, shows up and asks the Elder if Ian should come with them. The Elder mentions that Ian should be tired from training, and tells Adam to go on ahead.
Before Adam and the rest of the party leave town for the Ancient Temple, Knuckles, a monk, shows up and apologizes for sleeping late, and he joins the party.
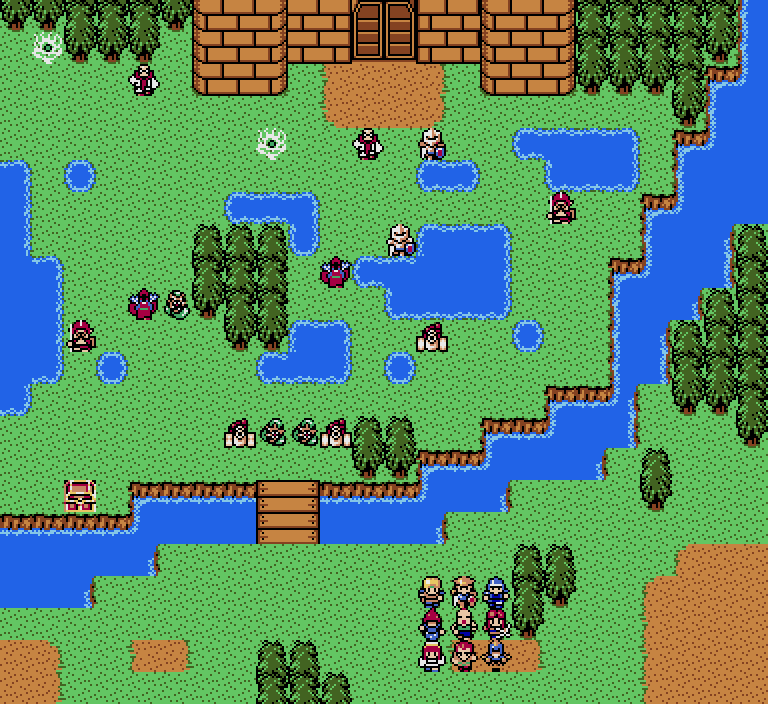
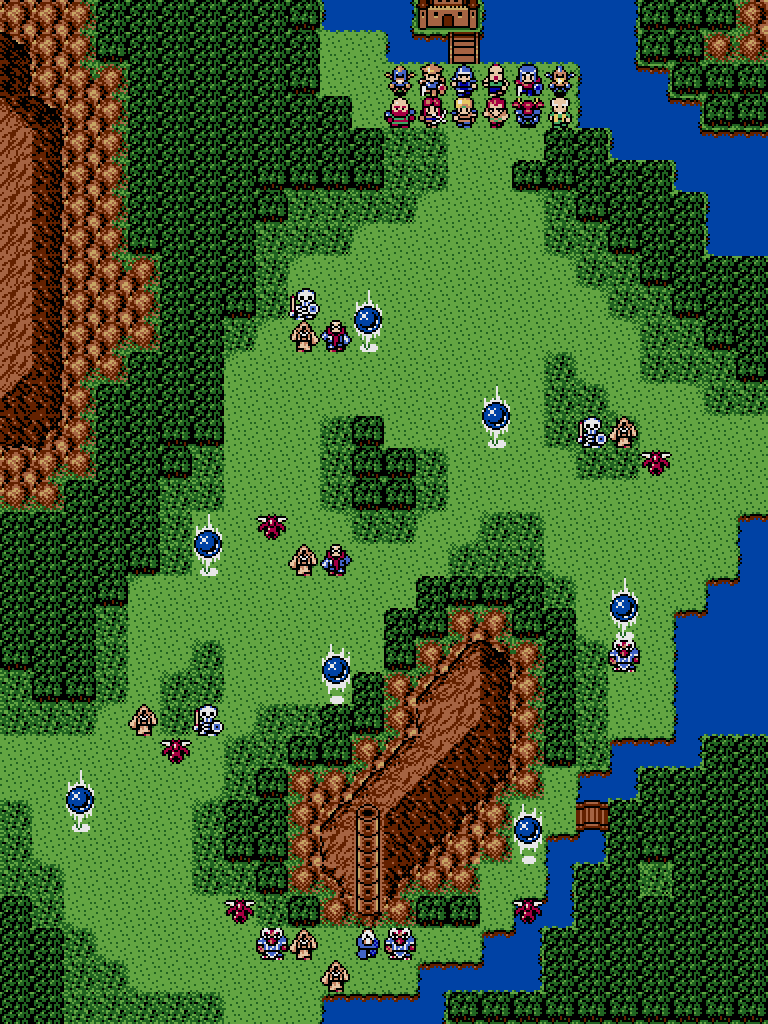
As Adam and his party arrive at the Ancient Temple, a thief, Ruburan, and his henchmen are trying to steal the caravan. As Adam cannot fight, Mead will be the party leader, and the battle starts.
Battle 1: Temple Ruins
Map

Items
- None
Enemies
- 4 Blue Oozes
- 4 Goblins
Mead is the leader of the team for the first battle. Be careful as he cannot cast egress. This is an easy battle; take care of the first two Blue Oozes first before advancing further, and kill one of the groups of enemies up top before going to the other side. As your party starts out pretty weak, don't try to separate your party into two, keep them together.
After the battle, Ruburan is captured. At first, Mead suspects that Ruburan is one of Mishaela's henchmen, but Ruburan denies knowing Mishaela. Mead and the others decide to take Ruburan as prisoner and head back to Hassan to discuss with the Elder about what to do with Ruburan.
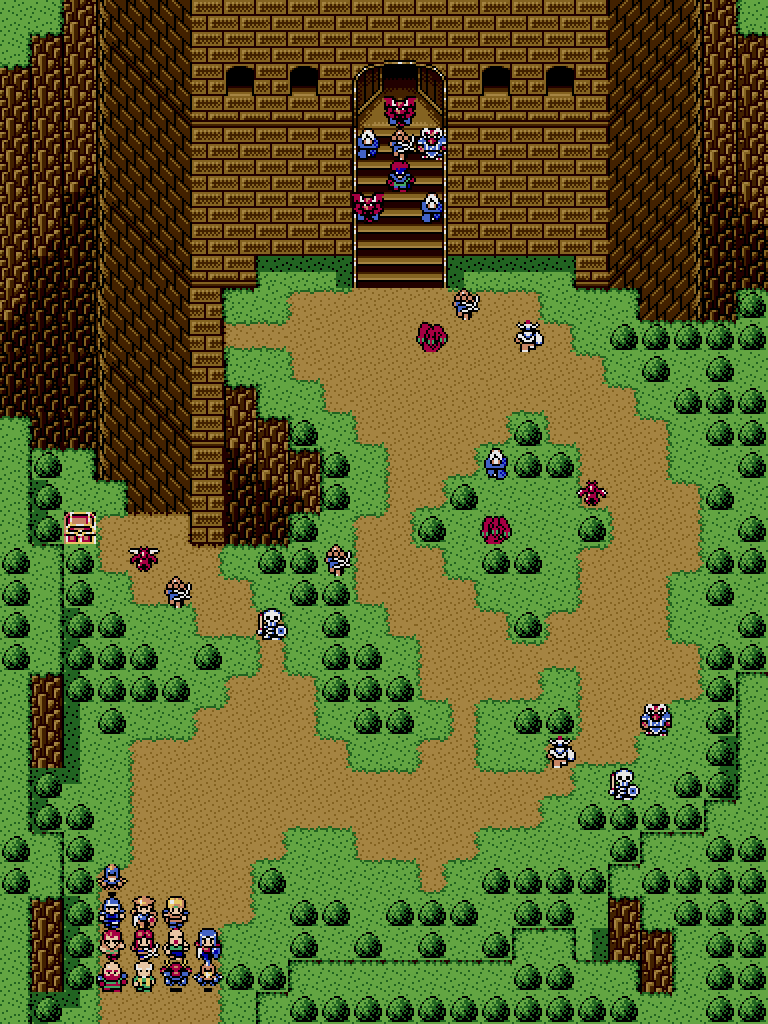
As Adam and his party returns to the village, they find that Mishaela and her henchmen had stormed the village. Ian and Cynthia agree to help the party and fight the enemies. Ian joins as the leader from this point on. Cynthia does not join at this point.
Battle 2: Village Invasion
Map

Items
- Quick Chicken in a chest in the upperleft corner of the town.
Enemies
- 3 Blue Oozes
- 3 Goblins
- 2 Orcs
- 2 Hunter Goblins
Ian joins in this battle and becomes the leader. This is an easy battle and pretty good for leveling up a little. Get everyone to level 3 or 4 if you want.
After the battle, Mishaela tries to force the Elder to tell her how to operate the caravan, the Elder refuses. Ruburan confronts Mishaela as he recognized that she was the one who took his men prisoner. Mishaela and Lynx scoff at Ian's party and leaves with the Elder as their prisoner. The Elder asks Ian to find Max before he is taken away.
Ruburan claims that he has seen Max before, and Adam asks Ruburan to help them find Max. Adam insists that Cynthia stays behind, despite her wishing to come with them.
On their way to Rubuarn's secret hideout, they run into some monsters.
Battle 3: Seeking Rubuarn
Map

Items
- None
Enemies
- 3 Goblins
- 3 Orcs
- 2 Hunter Goblins
- 2 Dark Dwarfs
This battle isn't too hard; the landscape makes it annoying to level up, so just go pass it.
After the battle, Cynthia still insists on joining, and says that she will be able to help with her healing powers. Adam finally agrees and they continue onwards.
As they come across a large bridge, a kraken shows up.
Battle 4: Battle with the Kraken
Map
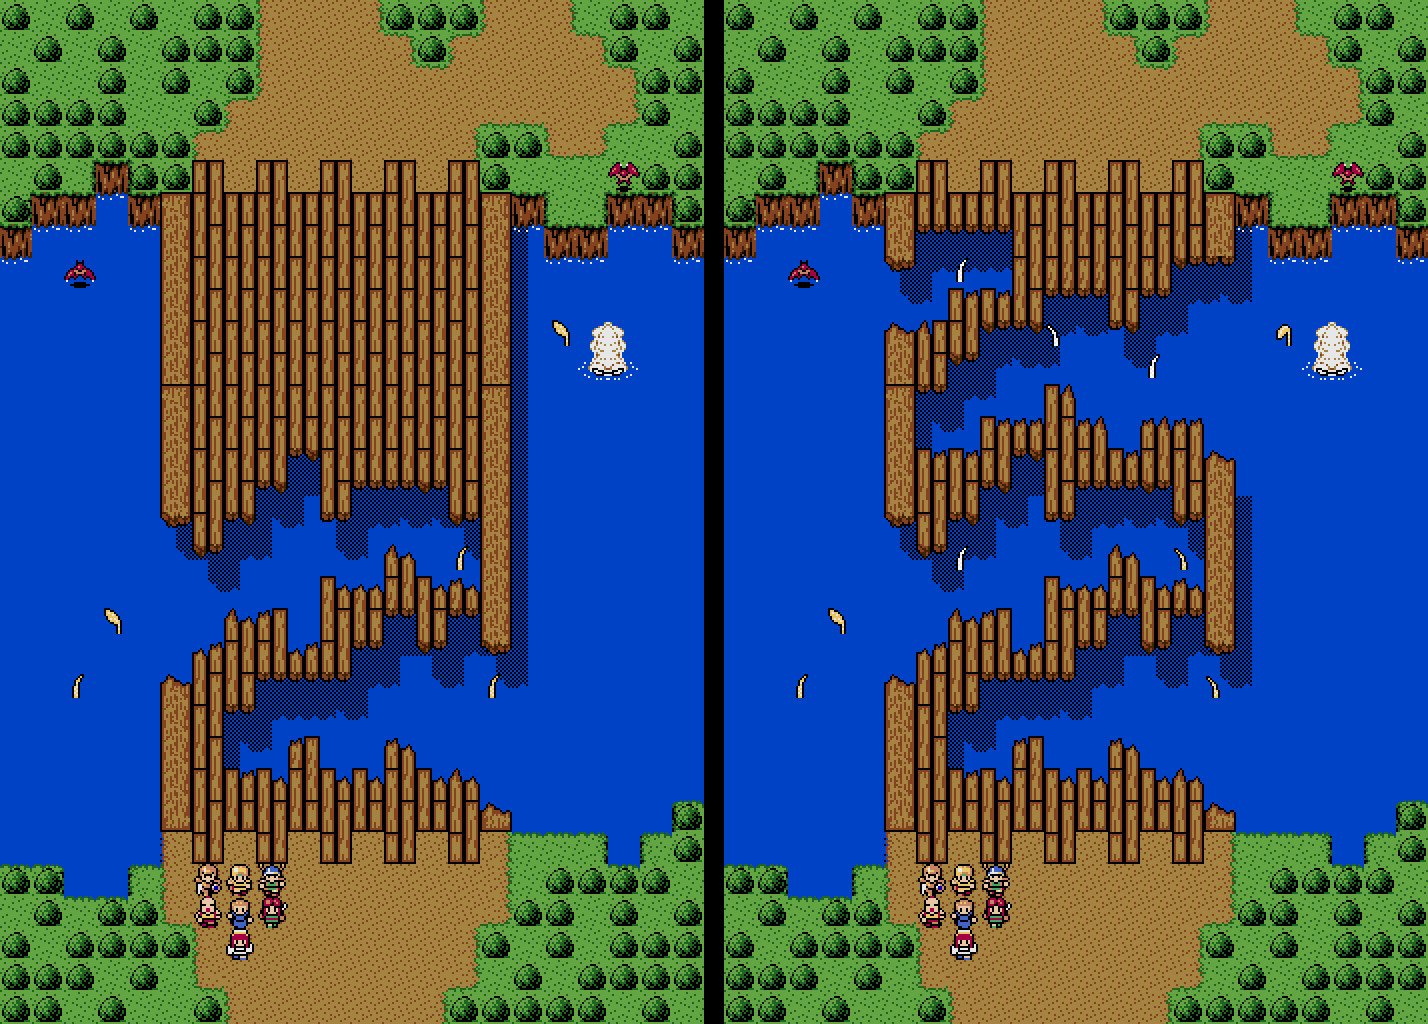
Items
- None
Enemies
- 3 Kraken Arms
- 3 Kraken Legs
- 2 Giant Bats
Reinforcements
- 3 Kraken Legs
Be careful as new arms appear throughout the battle. Don't send any characters far away from the rest of the force alone. This is a pretty good battle to level up also if you want to gain some exp before moving on.
After the battle, one of Ruburan's men show up, and informs Ruburan that Mishaela showed up at their secret hideout again.
Ruburan and the others rush back to his secret hideout and witnesses Mishaela killing some of his man. Mishaela claims that she will fight their God Volcanon and defeat him. Ruburan tries to stop her, but gets knocked out. Adam confronts Mishaela again, and the next battle starts.
Battle 5: Rubuarn's Secret Hideout
Map
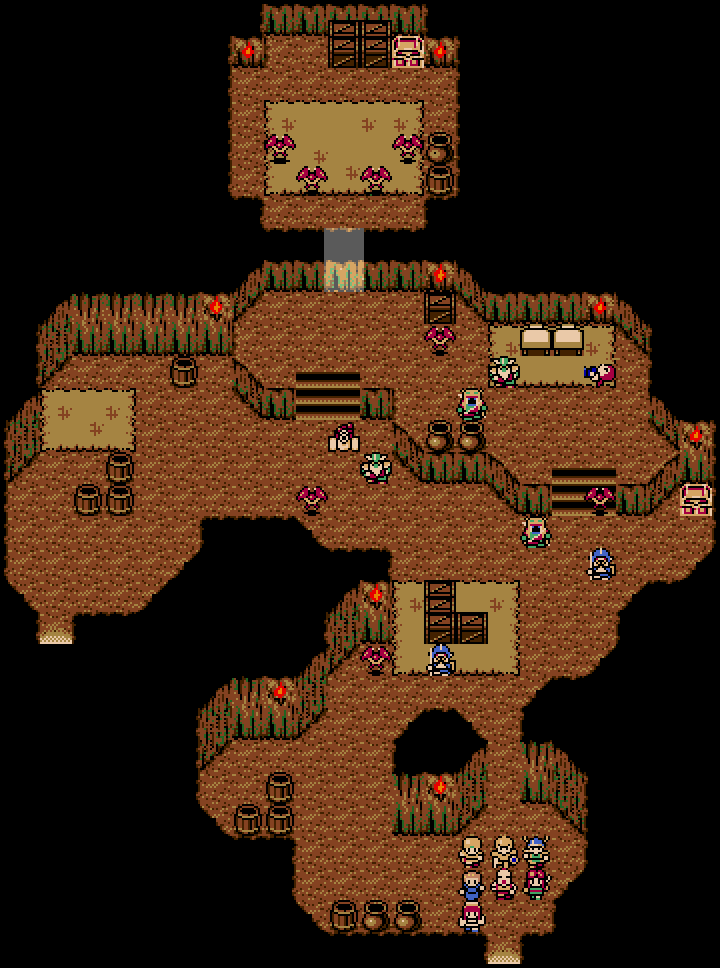
Items
- Protect Milk
- Power Wine (chest is in hidden room)
Enemies
- 1 Brass Loader
- 3 Orcs
- 2 Dark Dwarfs
- 2 Hunter Goblins
- 8 Giant Bats
This battle isn't too hard as the enemies are not too close to each other. The hidden room will appear in the top side of the map and four Giant Bats will charge out if anyone goes too close, so don't send anyone over there by himself/herself, unless the character is strong enough to take on all four of those bats, which is not all that difficult for that matter.
Ruburan joins after the battle. He tells his men to stay behind and protect their hideout.
Ian's party catches up with Mishaela as she tries to seal off Volcanon's power. She escapes again, and leaves her henchmen behind to deal with Ian and his party.
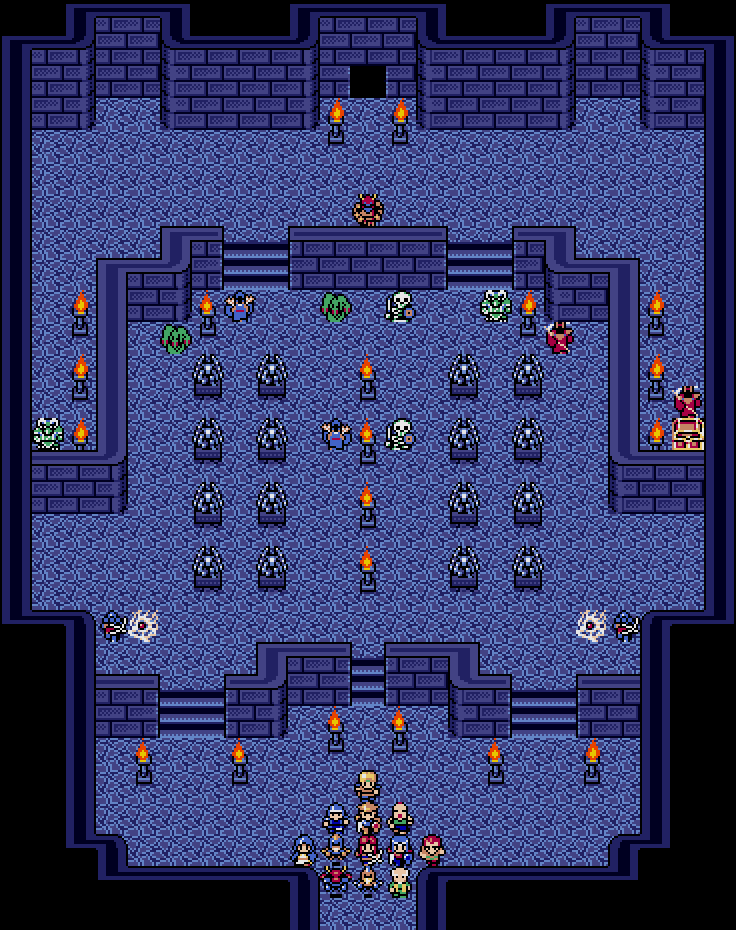
Battle 6: Volcanon's Mountain
Map
Items
- Cheerful Bread (defeat Dark Mage)
Enemies
- 2 Brass Loaders
- 3 Green Oozes
- 2 Worms
- 3 Dark Dwarfs
- 4 Giant Bats
- 1 Dark Mage
You might want to build up Ruburan a little in this battle but you don't have to. Be careful as the Dark Mage in the end has Blaze 2, so don't line up your characters too closely when approaching him.
After the battle, the party meets with Volcanon. He advises the party to go to Grans Tower. Kiddo, the Birdman, joins after this battle.
Chapter 2
The chapter starts off with Mishaela discussing her plans with her three henchmen. Lynx claims that he should be able to capture Max soon. Mishaela mentions that Ian should be no threat, and Eiku promises to bring Ian in. Mishaela tells Eiku to wait because it is Magus' job to deal with Ian.
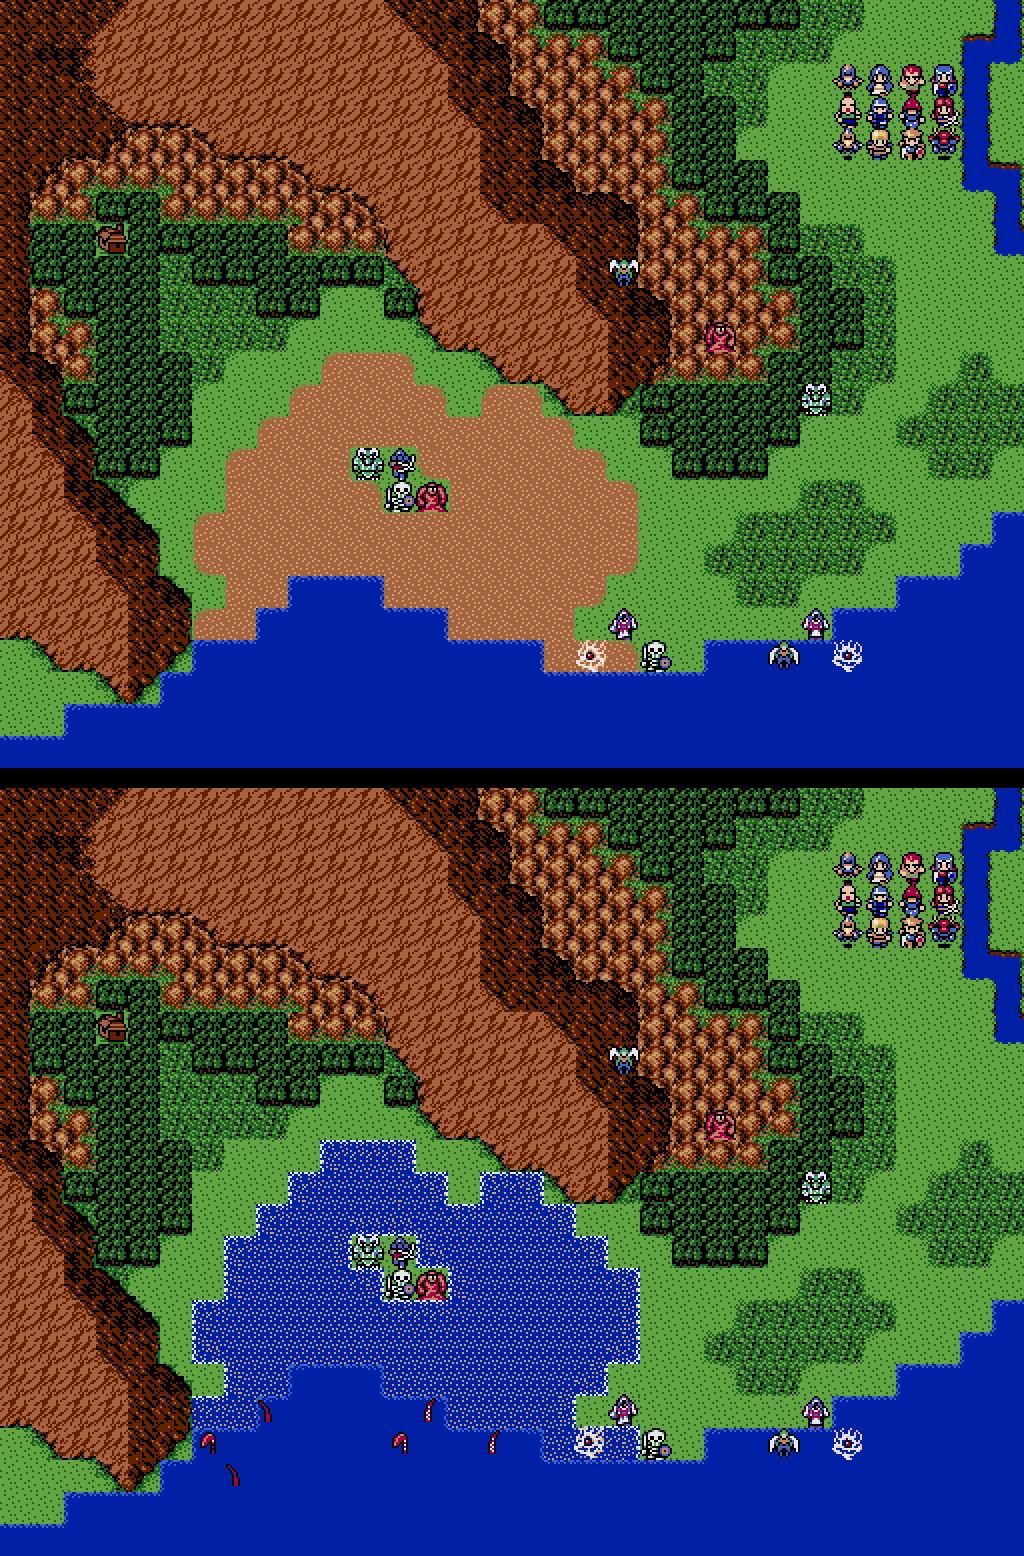
In the meantime, Ian and his party are heading north to Palacon. They run into Magus' henchmen as they pass through a cave.
Battle 7: Cave to Palacon
Map
Items
- Protect Milk
Enemies
- 3 Brass Loaders
- 4 Green Oozes
- 3 Worms
- 3 Dark Smokes
- 2 Dark Mages
- 1 Orc Lord
At a point of the battle the broad path will become narrow after the rocks fall, and the two Dark Mages may impose a serious threat as only one character can go up at a time. I suggest going around the map if possible.
After the battle, Ian and his party continue to advance towards Palacon. Meanwhile, Magus is trying to take over Palacon. As Magus is having trouble with taking Palacon by force, he causes the river to overflow and floods the Palacon troops. Ian arrives as Magus tries to take the castle. Magus decides that they have to deal with Ian first.
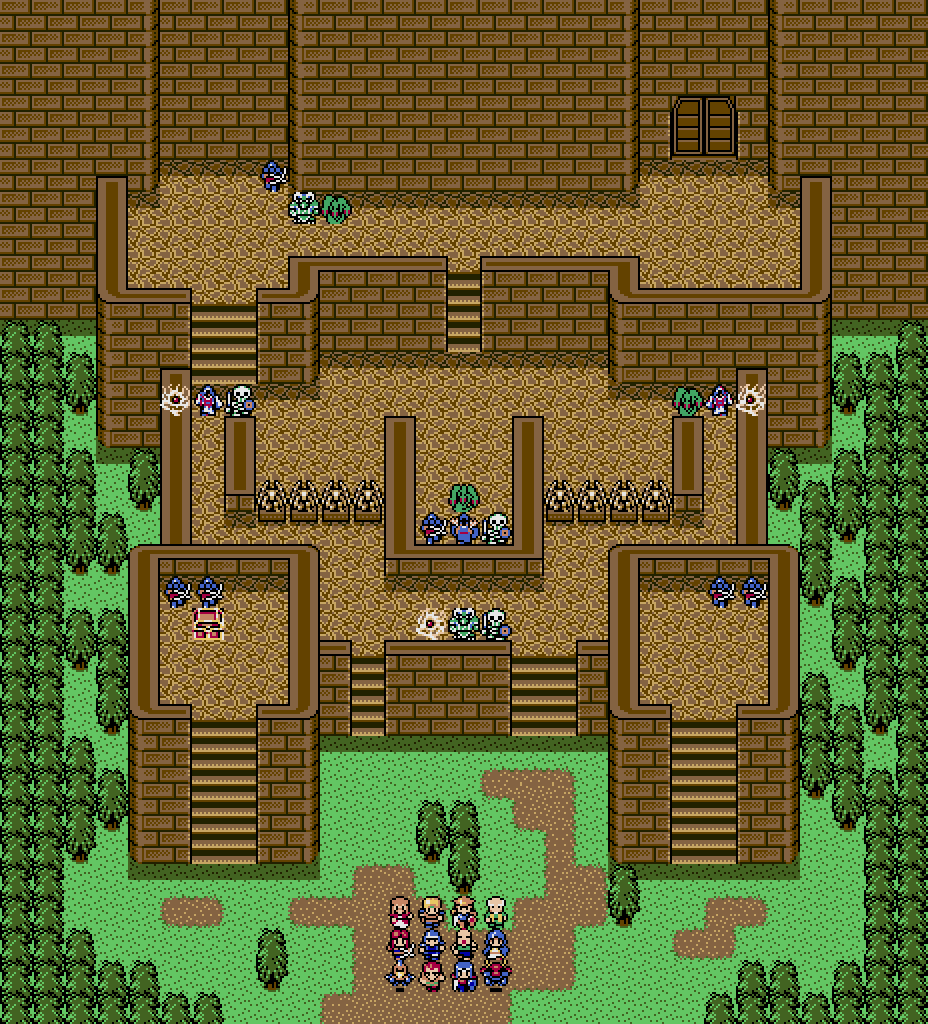
Battle 8: Palacon
Map
Items
- Brave Apple
Enemies
- 3 Brass Loaders
- 3 Worms
- 2 Orc Lords
- 2 Dark Knights
- 2 Dark Smokes
- 2 Dark Mages
- 2 Priests
Not a bad place for leveling up, but I personally didn't bother to level up in this battle.
After the battle, Lynx shows up and scoffs at Magus' incompetence. They both leave.
Sylvia the knight and Julia the Birdwoman joins after the battle. Sylvia suggests that they rest in Palacon before advancing.
The game now switches to a cut-scene where Eric, a Dragonman, of breaking army regulations, and brought to Magus. Eric claims that he wants to see Mishaela, and that is the reason he joined the Devil Army. Lynx releases Eric from his chains and challenges him to a fight. They both give up after a few rounds, and Eric flies away. Lynx mentions that he wished to defeat Eric in a fair fight and did not go after him, and he leaves too. Magus is now upset as he now has to find Eric or he'll be in trouble.
Back to Ian's party, they are still heading north, and run into Magus' search party for Eric.
Battle 9: Hunted by Magus' Army
Map
Items
- None
Enemies
- 3 Dark Snipers
- 2 Hobgoblins
- 2 Dark Smokes
- 2 Dark Mages
- 3 Orc Lords
- 2 Dark Knights
- 2 Vampire Bats
- 2 Priests
This battle isn't too hard. Take out the two Orc Lords and the Dark Knight to the left in the beginning, then go to the far right to take out the Dark Smoke, Dark Sniper, and Orc Lord. Then slowly work up the middle.
After the battle, Ian's party heads to Moun. The scene switches to a conversation between Magus and Lynx, where Lynx accuses Magus of using unfair tactics in battle. As Magus refuses to change his strategies, Lynx leaves.
In the meantime, Ian's party reaches Moun and is greeted by three residents. They claim that the Devil Army has already withdrawn and invites the Shining Force into the town. Ian's party follows the residents into the town.
Eric appears and tries to get into Moun, but the gates are locked. Adam realizes that this was a trap, as Magus appears, and the three residents turned into monsters.
Battle 10: Battle at Moun Village
Map

Items
- Robin Arrow
- Quick Ring (search well)
- Steel Sword (search well)
Enemies
- 2 Dark Snipers
- 3 Dark Mages
- 3 Vampire Bats
- 2 Hobgoblins
- 3 Dark Knights
- 2 Hell Soldiers
- 3 Priests
Good battle for leveling up. The enemies are quite far apart making the battle pretty easy. Keep to the right and go up to the treasure chest and take out the enemies there, but watch out for Blaze 2. Then move towards the Dark Knights and take the small group of enemies out one at a time.
After the battle, Magus is in disbelief as his army is defeated again. He reminds Ian that they barely escaped with their lives and leaves.
Eric reveals himself to be Elliot's son. For those who haven't played Shining Force I on Genesis, Elliot was the proud General working under King Ramaladu of Runefaust, who was manipulated by Darksol and the Devil Army. Eric wants to help defeat the Devil Army and joins the force.
The scene switches to Mishaela disgruntled at Magus for his failure, and giving him one last chance. Lynx agrees to help Magus, and agrees to use unfair tactics as it was Mishaela's command. However, Magus is still angry at Lynx and tells him to get out of his sight.
Eric leads Ian and his party to the northernmost part of the Parmecian continent, which is where the Nazca ship was in Shining Force II. They run into Magus again here.
Battle 11: Battle with Magus
Map

Items
- Power Spear
- Battle Axe
Enemies
- 3 Hobgoblins
- 3 Golems
- 3 Hell Soldiers
- 2 Vampire Bats
- 2 Dark Snipers
- 2 Harpies
- 2 Witches
- 2 Priests
- 1 Magus
Monsters will appear from behind in this battle so keep some stronger characters in the back. Watch out for Freeze 2 when approaching Magus. Minto joins after the battle.
After the battle, Magus finally dies, and the force meets Goddess Mitula. She tells Adam that they will have to face Max. She arranges a magician from Tristan, Minto, to go with them. Ian also receives the Necklace of Light from Mitula. Minto shows the Nazca ship to the force, and they are off to Grans Tower.
To avoid confusion, you never get to control the ship, your party just rides on it this one time, and that's it.
Chapter 3
The chapter starts off with the force running into some monsters in a remote location.
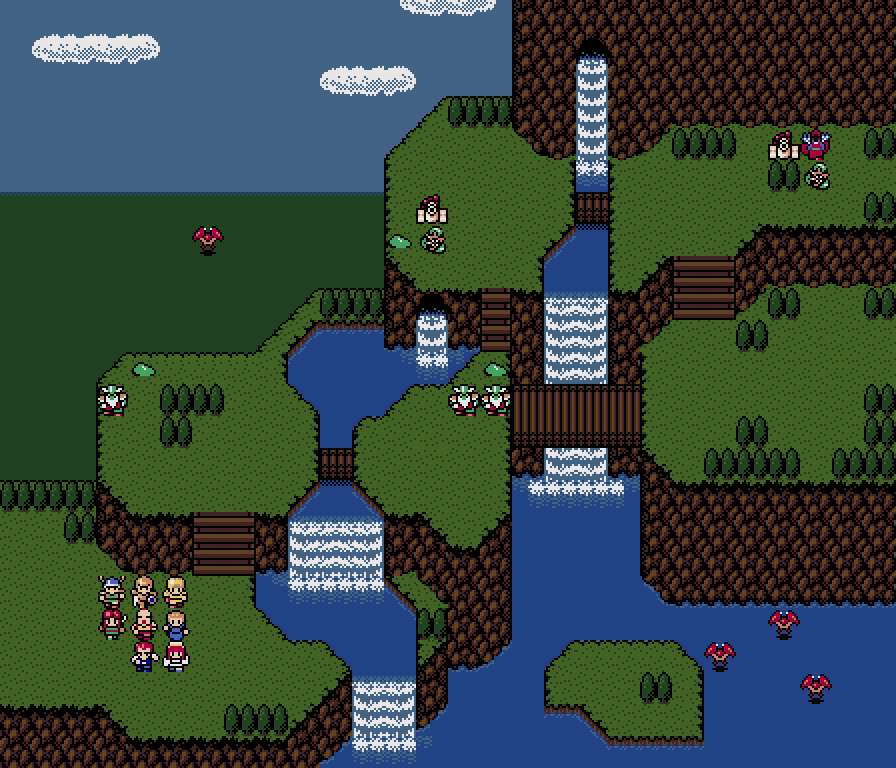
Battle 12: Battle at the Waterfall
Map

Items
- Protect Ring
Enemies
- 3 Dark Snipers
- 2 Hell Soldiers
- 2 Harpies
- 1 Bull
- 1 Witch
- 1 Skeleton
Good battle to level up.
Morton, a Mastermonk, shows up after the battle. He informs the force that the Devil Army has defeated Max. He joins the force.
Morton informs the force that the Devil Army now occupies Galam, and they should stop by at Roft village first. Eiku's henchmen show up at this point.
Battle 13: Battle on the Beach
Map
Items
- Protect Staff (dropped by Witch)
- Mobility Ring (dropped by an enemy)
Enemies
- 2 Bull
- 2 Skeletons
- 2 Golems
- 2 Mist Demons
- 2 Harpies
- 2 Witches
- 1 Bow Rider
Reinforcements
- 2 Tentacle Arms
- 4 Tentacle Legs
The tentacles give pretty good experience, but they are quite strong. The next battle is good for leveling up, so I wouldn't waste too much time here.
After the battle, Adam decides that they should deal with Eiku as soon as possible. They stop by Roft village first, and head to Eiku's fortress.
The scene switches to Eiku and Lynx's conversation. Eiku accuses Lynx of letting Magus die, and claims that if the Shining Force comes to his fortress, they will be annihilated. Lynx tells Eiku not to underestimate the Shining Force and leaves. At this point, the Shining Force arrives.
Battle 14: Eiku's Fortress
Map
Items
- Valkerie
- Black Ring (dropped by Bull)
Enemies
- 6 Bow Riders
- 3 Mist Demons
- 2 Bull
- 3 Skeletons
- 3 Hydras
- 2 Witches
- 1 Master Mage
Good for leveling up. Get everyone's level as high as you can in this battle. Don't go to close to the Master Mage, he'll retreat up to the top. The Hydras are quite strong so watch out for them, and the witches have Blaze 3; most the enemies give good experience in this battle.
After the battle, the Shining Force continues to advance into Eiku's Fortress.
Battle 15: Battle with Eiku
Map
Items
- Heat Axe
Enemies
- 2 Mist Demons
- 2 Bull
- 2 Skeletons
- 2 Bow Riders
- 2 Hydras
- 2 Executioners
- 2 Master Mages
- 1 Eiku
Reinforcements
- 4-6 Gargoyles
This battle you fight against Eiku; he is quite strong physically and casts Feeze 3, so he can be quite tough. Gargoyles also appear throughout the battle, so don't have any characters to far away from the force. This is a pretty good battle for leveling also. If you leveled a lot in the previous battle, you probably won't have to level too much in this one.
After the battle, Eiku dies, and the Shining Force find the Elder being held captive in the fortress. They rescue the Elder and rush out of the fortress as it collapses.
As the Shining Force continue to advance and come across a desert valley, they run into Mishaela.
Battle 16: First Battle with Mishaela
Map
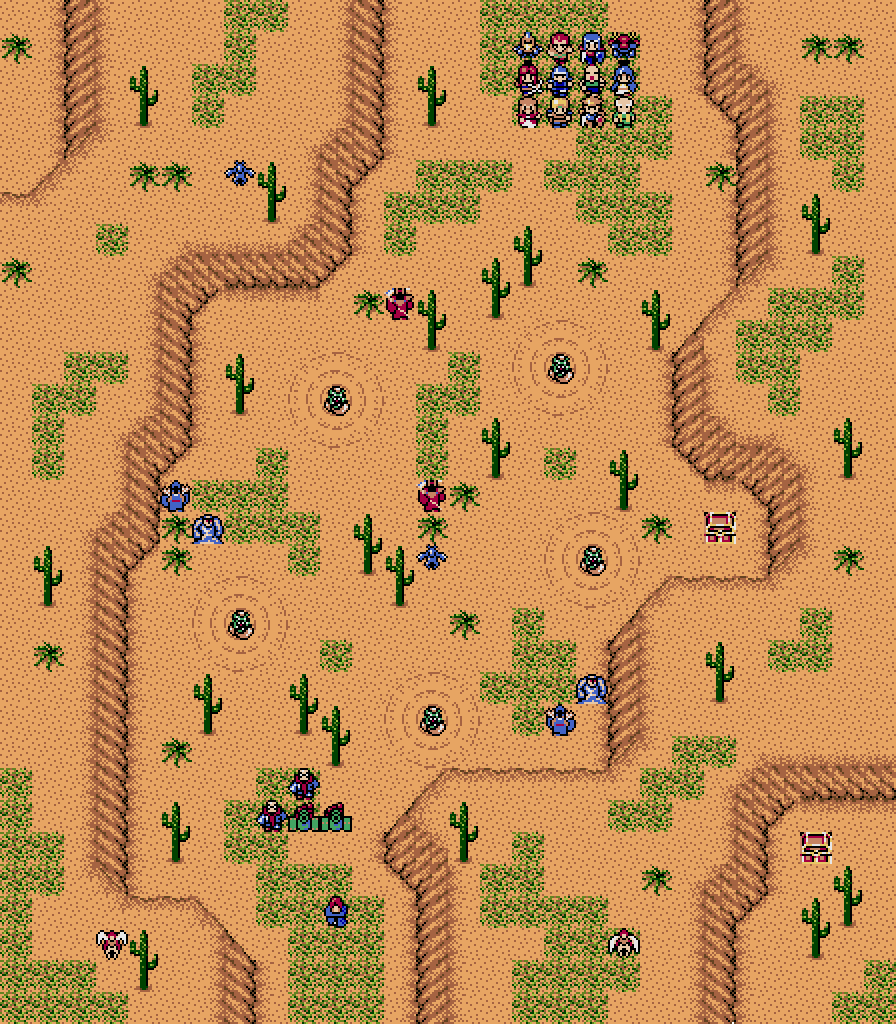
Items
- Shower of Cure
- Mobility Pimento
Enemies
- 3 Sandworms
- 2 Executioners
- 2 Gargoyles
- 2 Harpy Queens
- 2 Stone Golems
- 2 Brass Gunners
- 2 Master Mages
- 2 High Priests
- 1 Mishaela
Reinforcements
- 2 Sandworms
Inspect the cactuar to the left in the beginning to find Sasuke the ninja, he will join the force. Sandworms appear throughout the battle. This battle is annoying due to the landscape; I wouldn't waste much time here. You fight Mishaela in this battle. She has Bolt 2 so watch out for that.
After defeating Mishaela, it is revealed that they only defeated Mishaela's doll. The real Mishaela shows up and kills the Elder. She leaves. Adam swears revenge on Mishaela.
Chapter 4
As the Shining Force continues to advance, they run into Lynx. Lynx claims to have no grudge against them, but he has to do his job.
Battle 17: Battle with Lynx
Map
Items
- Counter Sword (dropped by Lynx)
Enemies
- 3 Harpy Queens
- 1 Stone Golem
- 3 Gargoyles
- 2 Brass Gunners
- 1 Lynx
Reinforcements
- 2 Arch Knights
- 2 Stone Golems
- 1 Harpy Queen
- 1 Executioner
- 2 High Witches
- 1 High Priest
Mishaela shows up in the middle of the battle and provides Lynx with some reinforcements, which upsets Lynx as he wants a fair battle. The battle is not too hard. You fight Lynx who only has physical attack. He shouldn't be too hard; finish off all the monsters before approaching him. Ridion the old dwarf joins the force after the battle.
After the battle, Ridion shows up, and says that he and Max were defeated in a fair battle against Lynx. Lynx reveals that Max is now at the Ground Seal Ancient Tower, and that the tower is filled with evil power, as Darksol and the Devil King Zeon are both at that place. The tower is where the Devil King was sealed away, and the evil power will be used to revive Darksol. Lynx then dies. Ridion advises that they hurry to the Ancient Tower.
The Shining Force arrives at Galam and meet with the King. The King reveals that Galam has been taken over by the Devil Army. The Devil Army finds the Shining Force at this point, and they fight.
Battle 18: Galam Castle
Map
Items
- Kaiser Knuckle
- Power Ring (dropped by enemy)
- Chaos Breaker (won after battle)
Enemies
- 4 Arch Knights
- 3 Stone Golems
- 3 Cannon Knights
- 2 Harpy Queens
- 1 Brass Gunner
- 2 High Witches
- 1 High Priests
- 2 Skull Warriors
This battle is pretty good for leveling and you should be able to get your character levels close to level 17 or 18 in this battle.
After the battle, King Galam gives Ian the Chaos Breaker. As the Shining Force advances, they confront more of Mishaela's henchmen.
Battle 19: To the Tower
Map
Items
- Demon Rod (dropped by Misheal Doll)
- Mystery Staff (dropped by enemy)
- Evil Ring (dropped by enemy)
Enemies
- 7 Magic Balls
- 5 Lesser Demons
- 3 Skull Warriors
- 6 High Witches
- 2 High Priests
- 3 Dark Shamans
- 1 Mishaela Doll
Send a flying character to search the square piece of land in the lower right forest. Kojirou is found there and will join. This battle is quite hard, as the High Witches have Freeze 3, and the Lesser Demons have Bolt 1. The magic balls explode after being killed or if any characters are in range for a few turns, so watch out for that too. This battle gives decent exp, but I usually prefer to level up in the next one.
Reaching the Ancient Tower, the Shining Force confronts Mishaela again. At this time, Max walks onscreen, wearing the Mask of Darkness. He is now wielding the Dark Sword and being controlled, just like Kane, Max's older brother, was in Shining Force I.
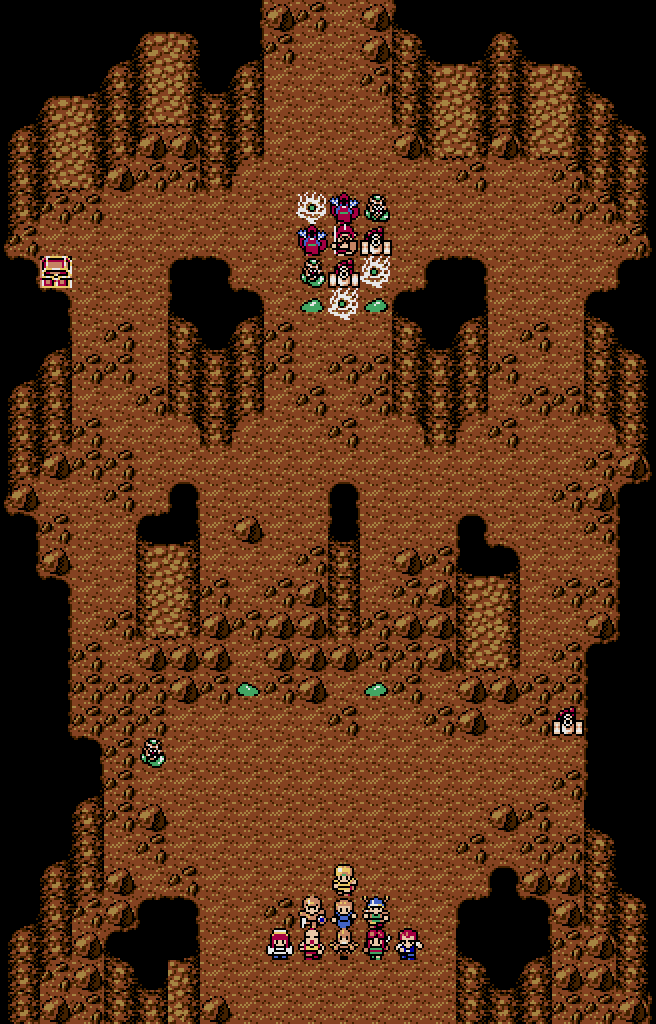
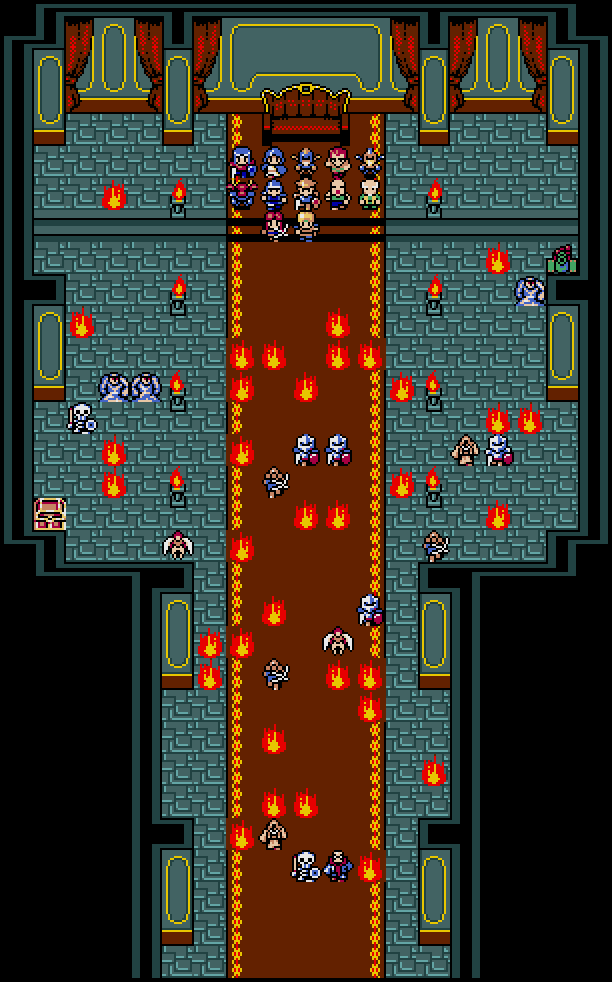
Battle 20: Tower Entrance
Map
Items
- Ground Axe
- Hyper Cannon (dropped by Cannon Knight)
- White Ring (dropped by Dark Shaman)
Enemies
- 4 Cannon Knights
- 2 Lesser Demons
- 2 Skull Warriors
- 2 Dark Generals
- 2 Pyrohydras
- 2 Demons
- 3 Mishaela Dolls
- 2 Dark Shamans
- 1 Max
This battle is quite tough as most enemies have special attacks that do close to 20 damage, and your defense won't be of any use, so don't have any characters go far away from the rest of the force. Lots of the enemies in this battle give 49exp even after level 20 promoted, so get everyone up to level 20 in this battle. The final battles aren't good for leveling, since weak characters will get killed off easily, so you want to do it in this one. Max joins after this battle. You can equip him with the Dark Sword he carries with him.
After the battle, Adam is unable to remove Max's mask. Oddeye from Shining Force II shows up. He reveals that the mask can only be removed by a Devil, and he helps remove the mask. Oddeye explains that he is a Greater Devil under the Devil King Zeon, thus Darksol is his enemy too. Oddeye then leaves.
After Max regains consciousness, he praises the new Shining Force, and he joins.
As the Shining Force confront Mishaela for the last time, Mishaela reveals that Ian is actually Kane's son. Twenty years ago, a prophet in Manarina gave Max's older brother, Kane, a prediction, that Darksol will be revived at this very place. Kane then sent away his son, Ian, to defeat Darksol.
As they speak, Darksol's revival is near complete. Oddeye shows up again, and tries to talk Mishaela out of it. Mishaela ignores him, and Oddeye joins the force to help stop Darksol's revival.
Battle 21: Final Battle with Mishaela
Map

Items
- None
Enemies
- 5 Demon Status
- 2 Cannon Knights
- 1 Dark General
- 1 Pyrohydra
- 2 Red Dragons
- 1 Demon
- 3 Death Gods
- 1 Mishaela Doll
- 1 Dark Shamans
- 1 Mishaela
Difficult battle as the status shoot lasers almost every turn. Fortunately not every one of them shoot every round. Try to spread the characters out and proceed upwards as fast as you can. Go to the sides where the status cannot fire at you to finish off the monsters in the beginning. Oddeye will fight for you in this battle as the 13th character, and you can control him.
After the battle, Mishaela's powers are exhausted. She sacrifices herself to revive Darksol.
Battle 22: Final Battle
Map

Items
- None
Enemies
- Darksol
- Left Hand
- Right Hand
Last battle against Darksol in his devil form. His left hand casts Freeze 3 and right hand casts Spark 3, and the head casts Demon Breath. Finish off his hands first and don't bunch all your characters together. Just make sure Ian doesn't die. If you cast egress you will have to fight the previous battle again.
After the battle, Darksol is in disbelief that he has been defeated. Mitula shows up and tells Darksol that the Devil King Zeon, his opposition, who was also sealed away at the same place by him, has hindered his complete revival. Mitula then tells Ian to throw the Necklace of Light at Darksol, which destroys Darksol.
All members of the Shining Force rejoice as Darksol has been defeated. Oddeye walks off the screen.